Designers and developers often need a controlled environment to experiment with WordPress features, test themes, and build websites without impacting live environments. WordPress Studio is a fantastic tool designed specifically for this purpose. This guide will walk you through installing WordPress Studio and setting up your local WordPress environment.
What is WordPress Studio?
WordPress Studio is a user-friendly application designed to simplify the process of setting up local WordPress sites. With its intuitive interface, it’s especially appealing to designers who may not be familiar with technical server setups. WordPress Studio provides a local server environment with all the necessary components pre-configured, enabling designers to focus on creating stunning websites.
Step-by-Step Guide
1. Download and Install WordPress Studio
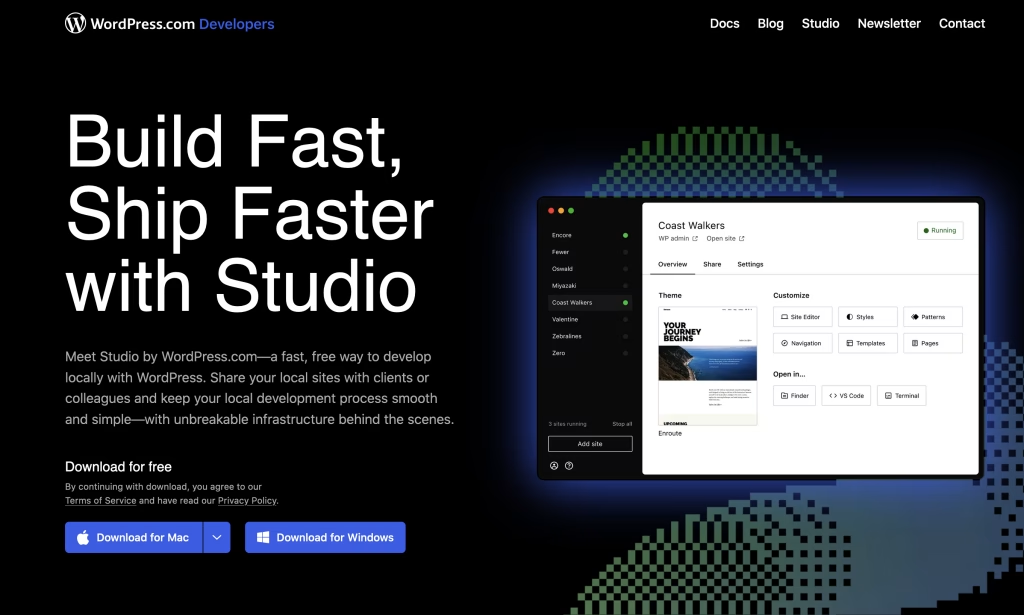
- Visit the WordPress Studio website and download the installer for your operating system.
- Run the installer and follow the on-screen instructions.
- Once installed, launch WordPress Studio.
2. Create a New Local WordPress Environment
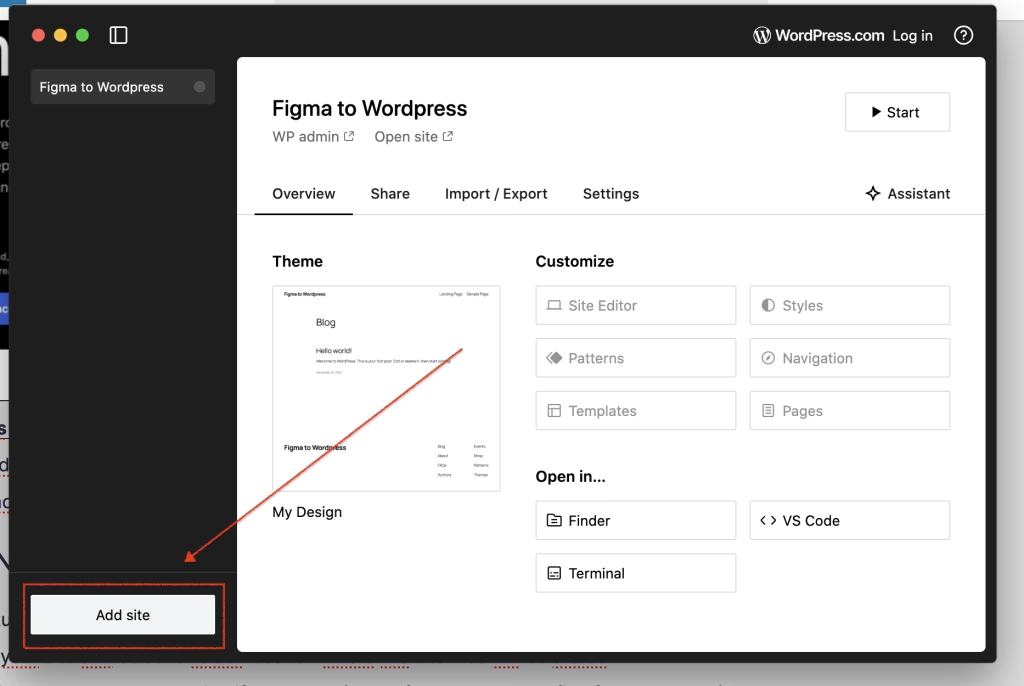
- Open WordPress Studio and click on Add site.
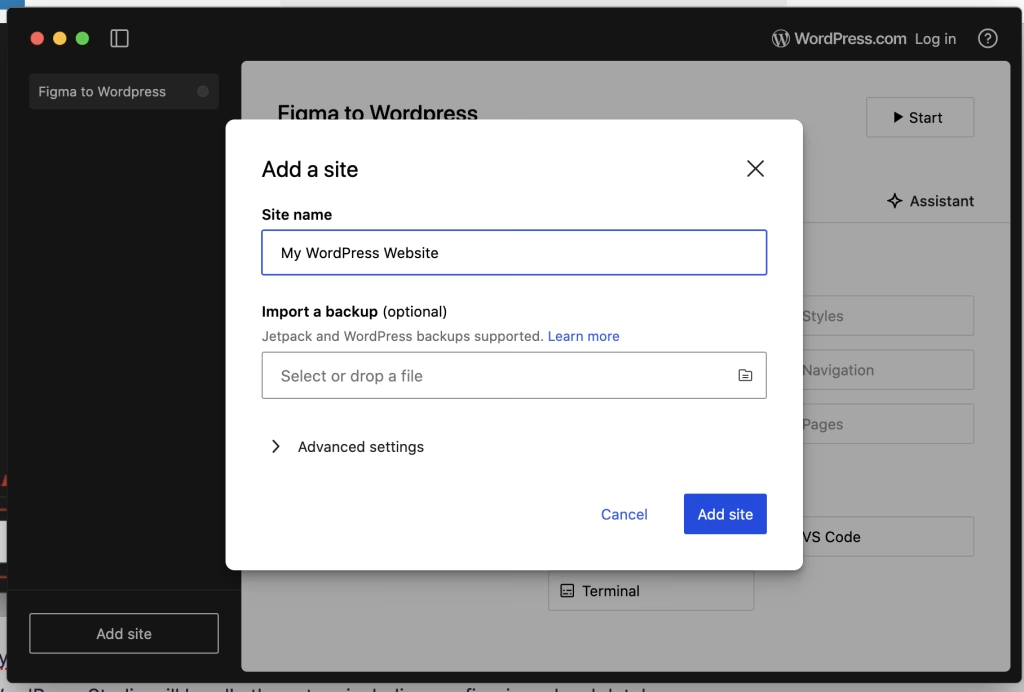
- Provide a name for your site.
- Click Add site. WordPress Studio will handle the setup, including configuring a local database.
3. Overview of the Local Environment Interface
Accessing Your New WordPress Site
To start working on your website, click the Start button located in the top-right corner of the interface.
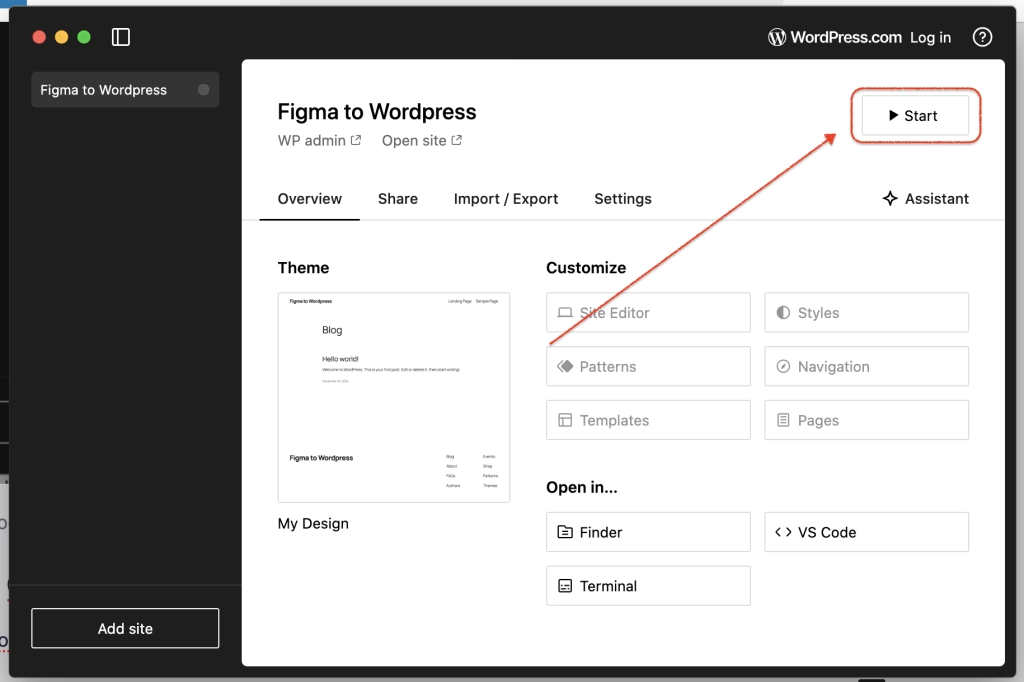
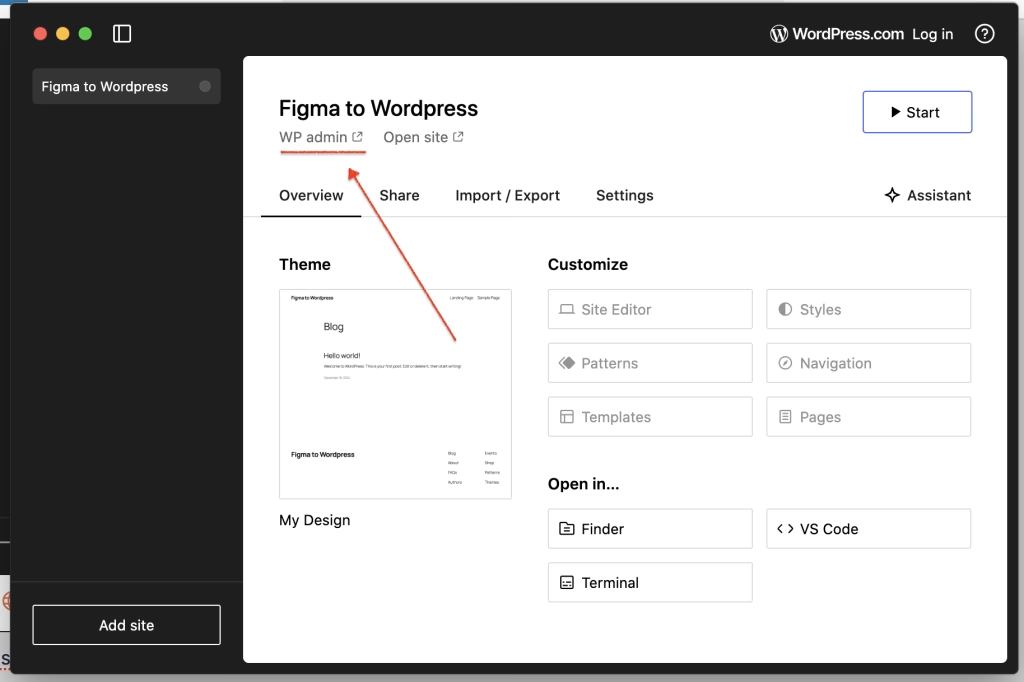
Once WordPress launches, locate your site name, such as “Figma to WordPress.” From there, you can: Access the WordPress dashboard by clicking WP Admin.
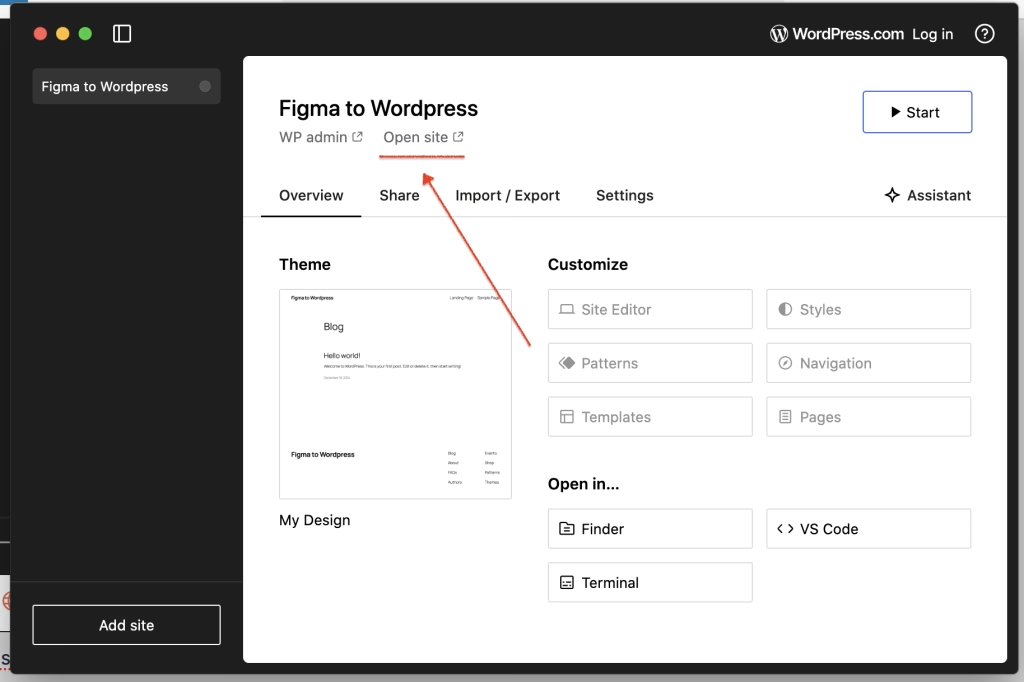
Preview your site in a browser by selecting Open Site.
Exploring the Basic Tabs
Let’s take a closer look at the foundational tools WordPress Studio provides.
1 – Overview Tab
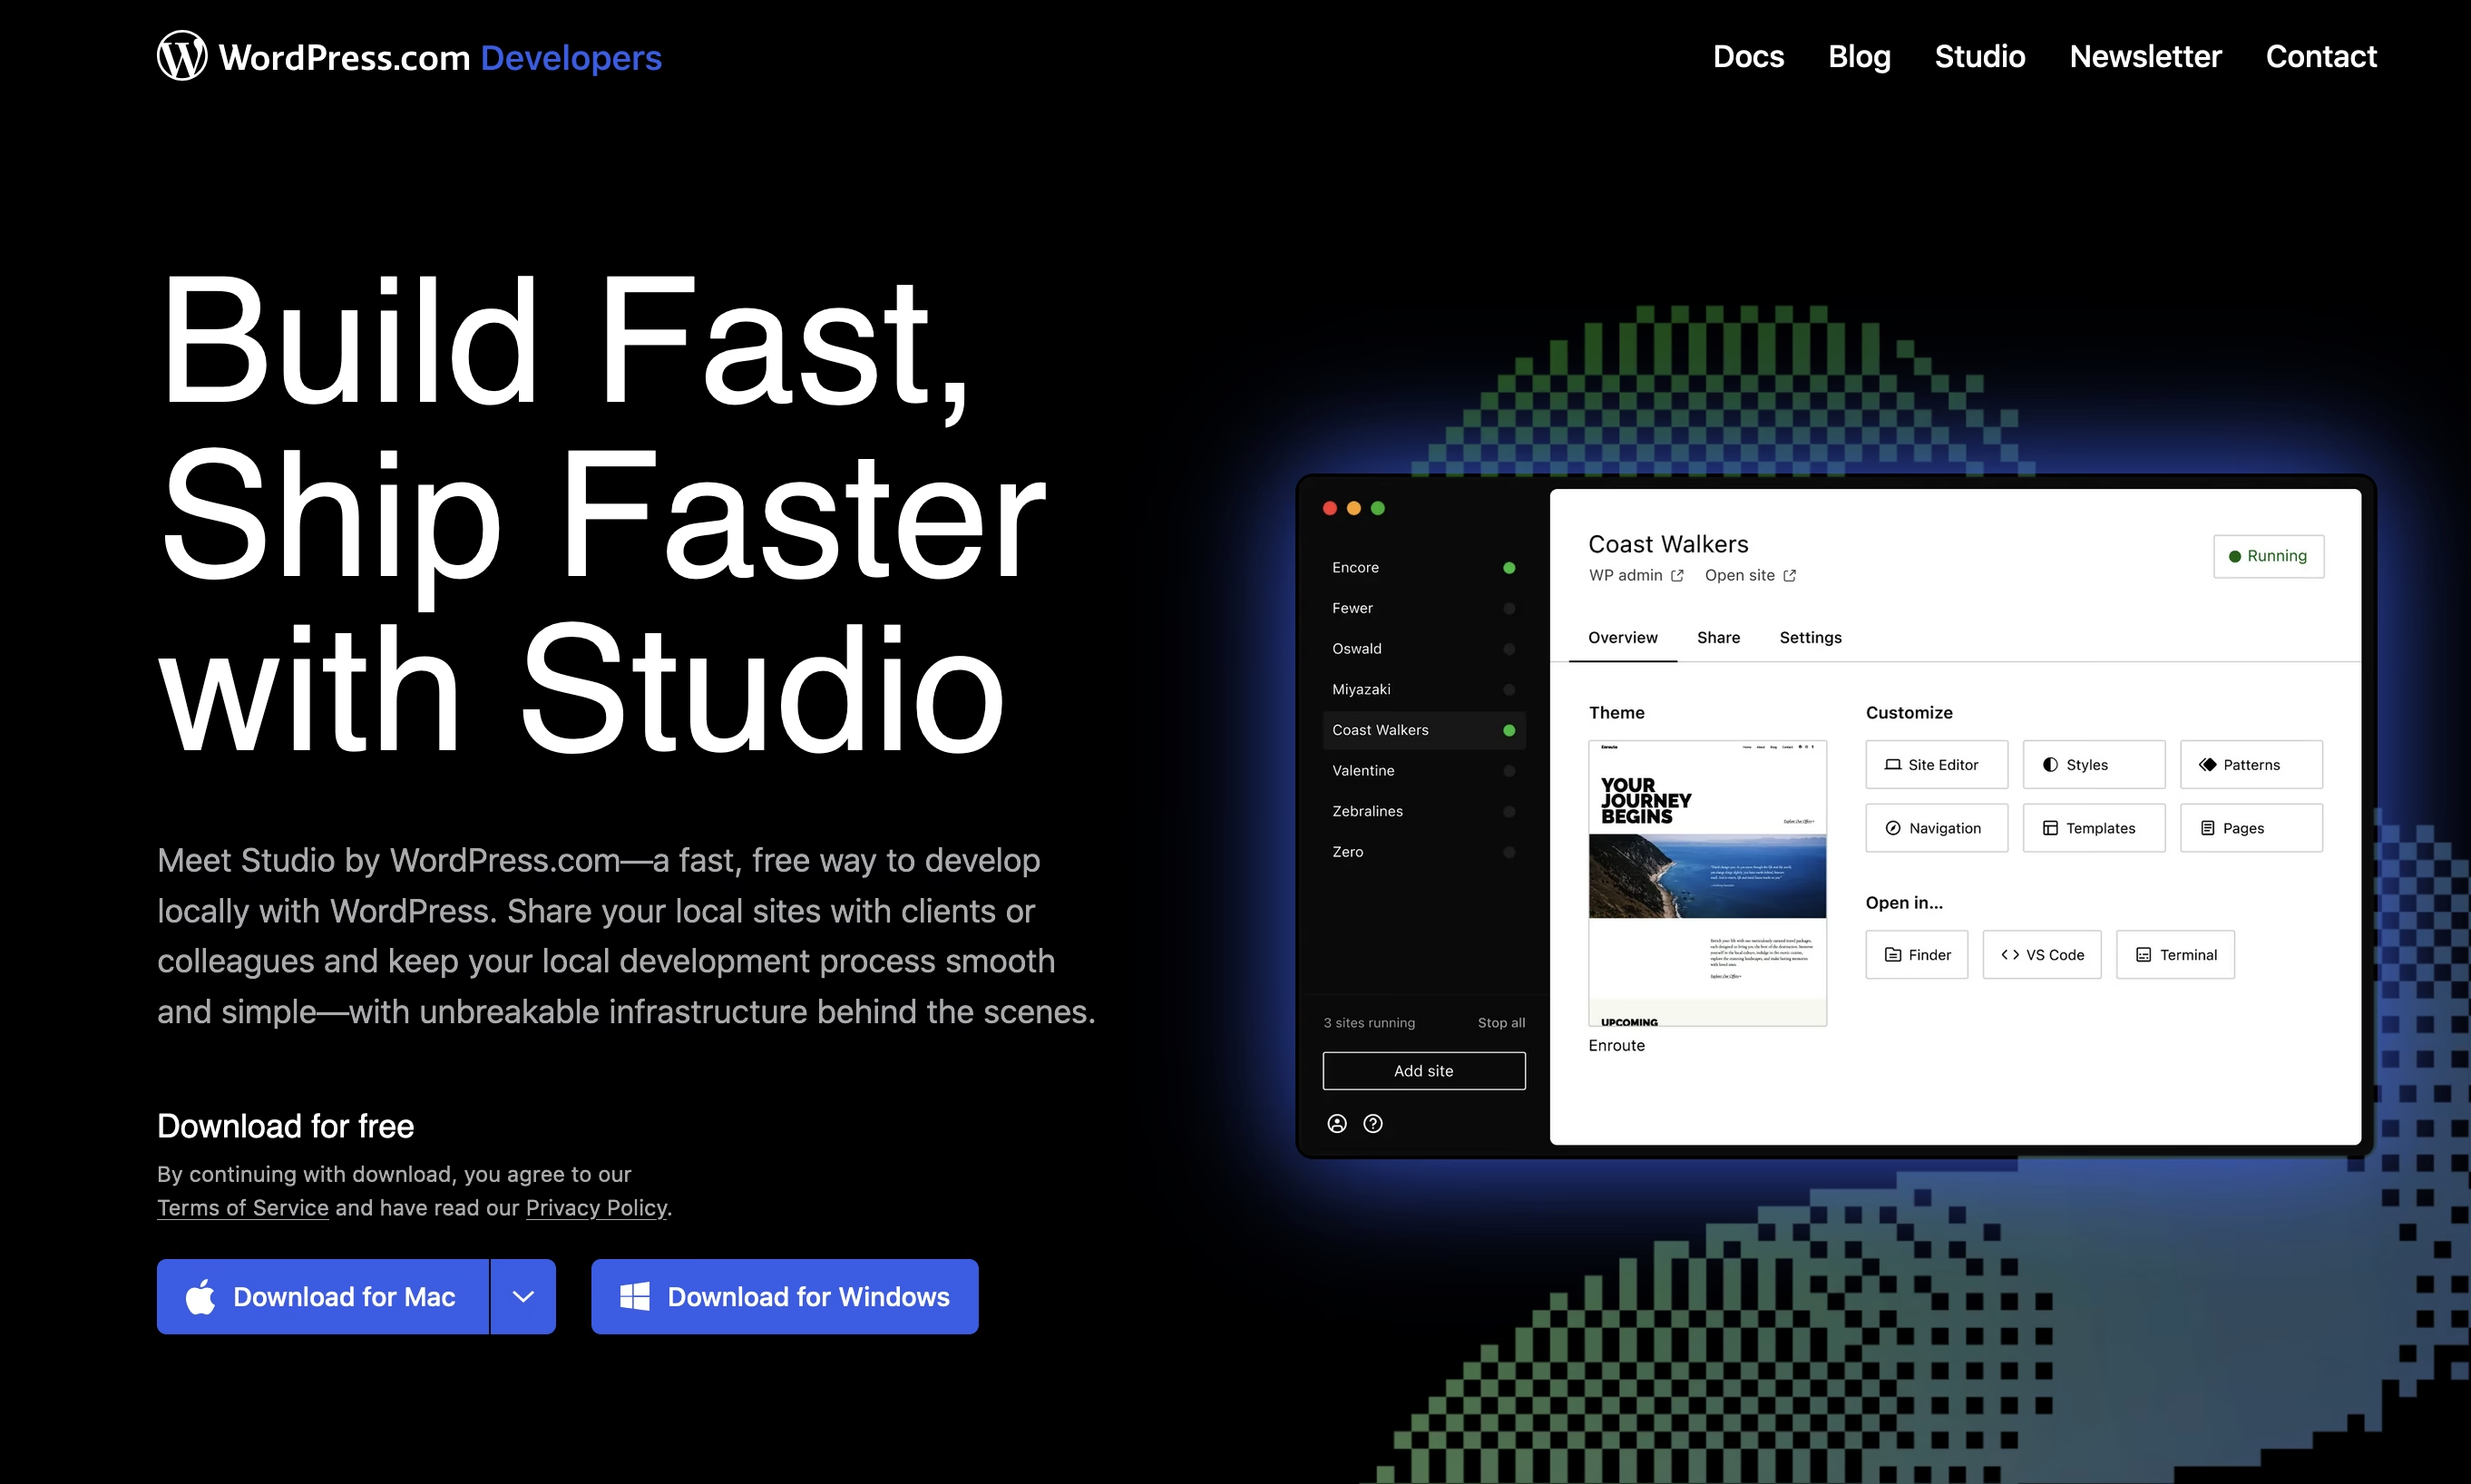
The Overview tab provides several essential buttons to kickstart customizing your website:
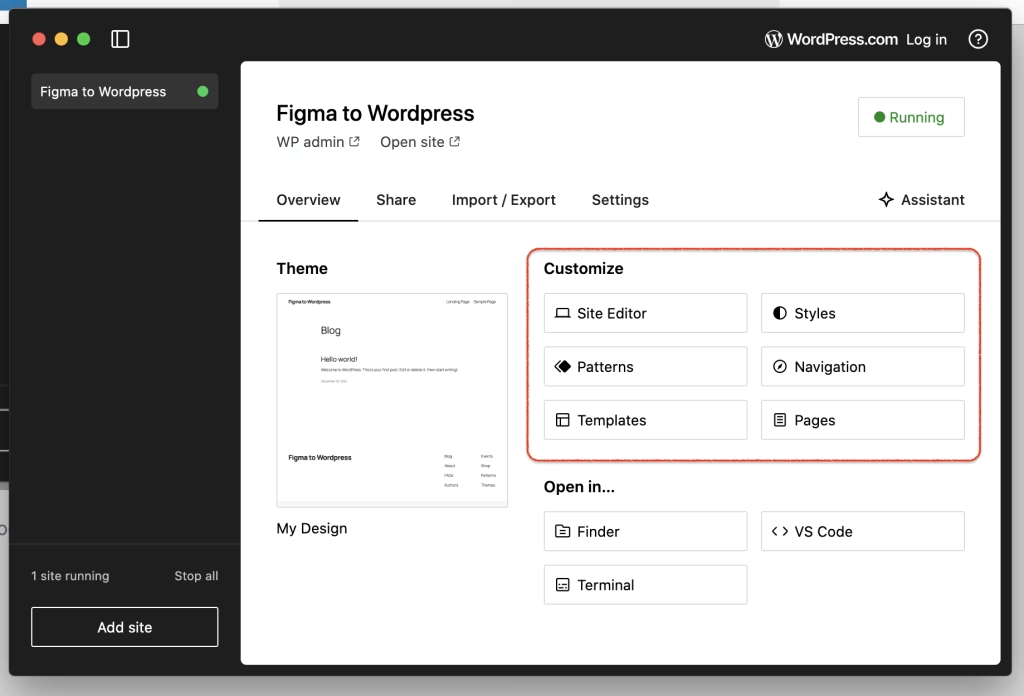
Site Editor: Opens the visual editor for building your site layout.
Styles: Allows you to manage global design settings like typography and color schemes.
Patterns: Access pre-designed block patterns to speed up page creation.
Navigation: Manage your site’s menus and navigation structure.
Templates: Edit or create page templates for unique layouts.
Pages: Quickly view and edit individual pages of your site.
Access local project files
Under Open in, you’ll find tools to interact with your local project files:
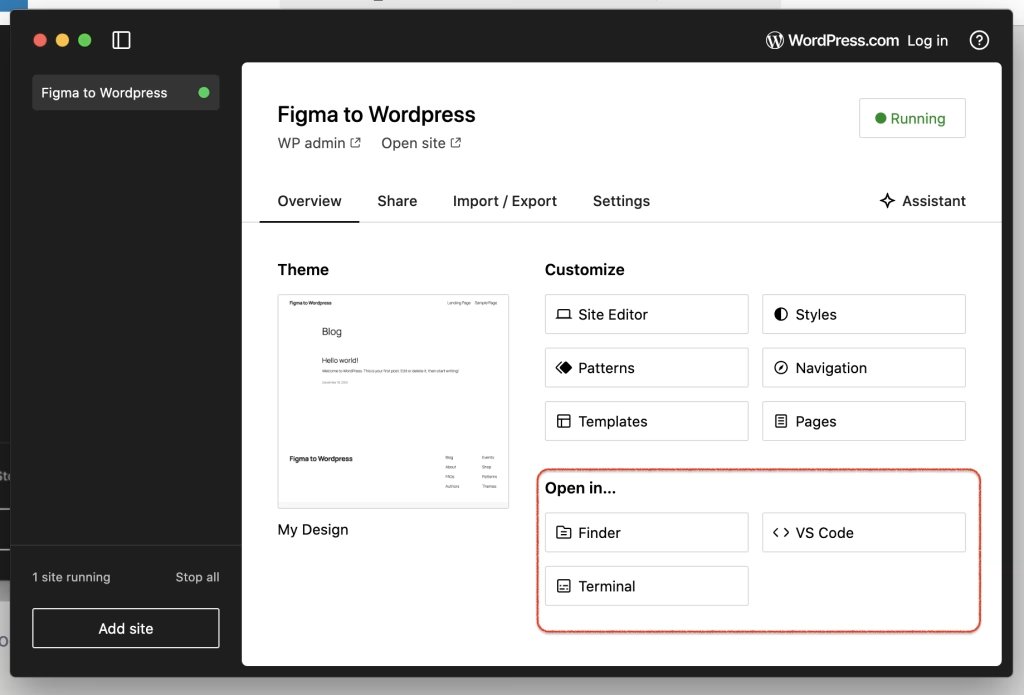
Finder Button: Opens your WordPress project folder directly in your system’s file manager.
Open in VS Code: Launches the project in Visual Studio Code for advanced code editing.
Open in Terminal: Opens a terminal session within the project directory for command-line access.
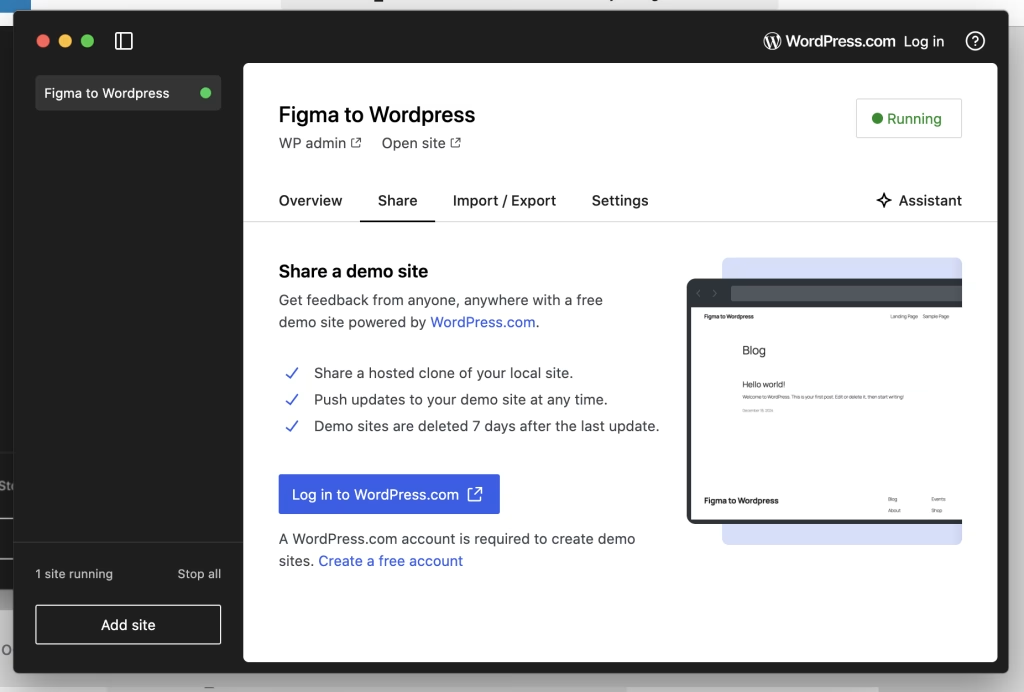
2 – Share a demo site
The Share Tab allows you to share a live demo of your local project with clients or collaborators. This is done via WordPress.com, making it easy to showcase progress without deploying to a live server.
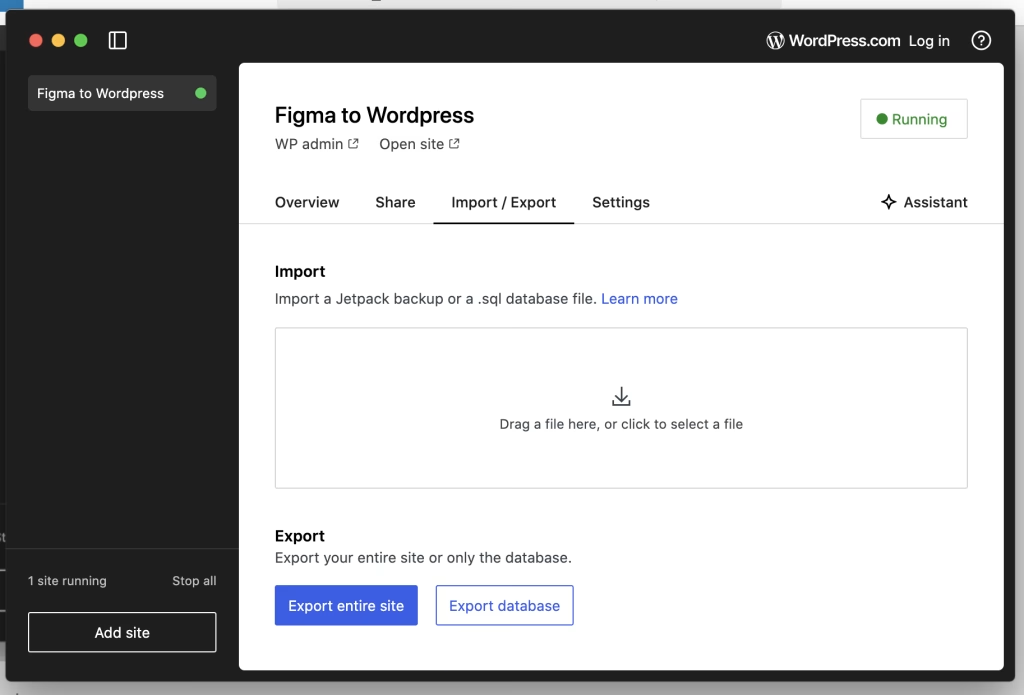
3 – Import/Export Database
The Import/Export Tab is designed for managing databases:
4 – Settings Tab
The Settings Tab provides tools to configure essential aspects of your local site:
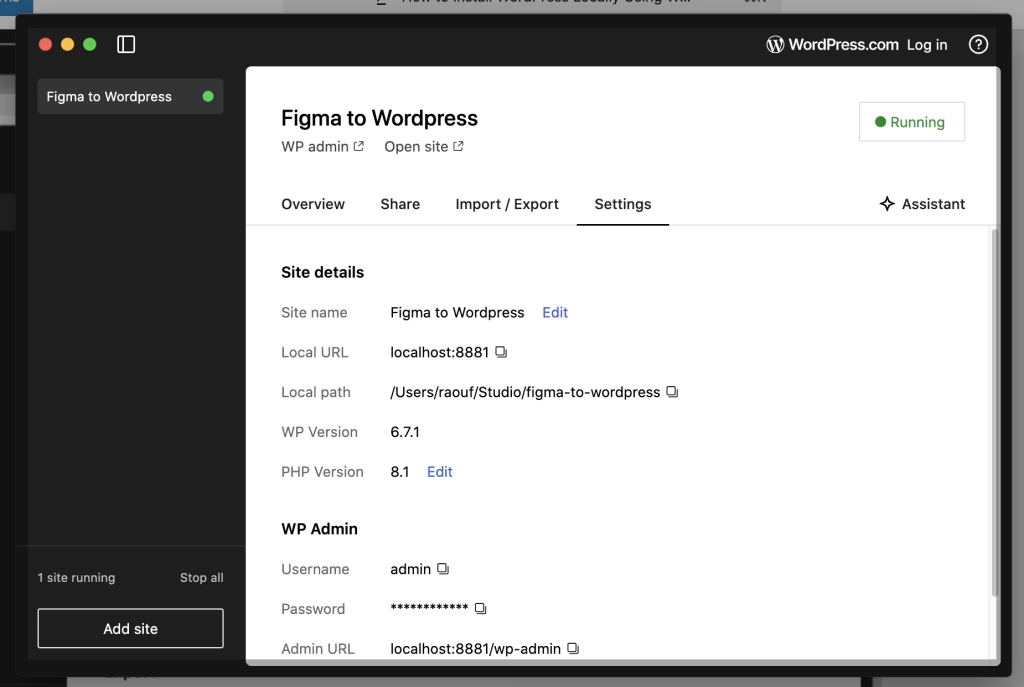
- Change Site Name: Edit the display name of your site.
- Edit Local URL: Modify the local address for your site.
- Change PHP Version: Switch between different PHP versions to test compatibility.
- Admin User and Password: Update login credentials for the WordPress admin dashboard.
Conclusion
Setting up WordPress locally using WordPress Studio is straightforward and efficient, especially for designers. With your local environment ready, you can now experiment freely and bring your creative ideas to life without worrying about affecting live websites. Happy designing!
Related Articles You Might Enjoy
Looking to deepen your WordPress knowledge? Check out these helpful guides:
- Installing WordPress Locally vs. On a Live Server – A Guide for Beginners
- Introduction to the WordPress Dashboard: A Beginner’s Guide
Dive into these articles and take your WordPress skills to the next level!
