Today, we’re diving into the essential skills of saving and exporting files in Penpot. Whether you’re safeguarding your work locally or preparing to share your designs, this quick tutorial has got you covered. From navigating the file editor to exporting images in various formats, let’s explore the straightforward steps to boost your efficiency in Penpot. Ready to save and share your designs effortlessly? Let’s get started!
To fully understand Penpot’s export options, first refer to our Ultimate Guide to Mastering Design with Penpot for a complete overview of its functionalities.
1- Saving and Exporting Files in Penpot
Save Files Locally from File Editor:
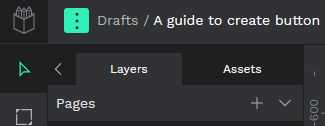
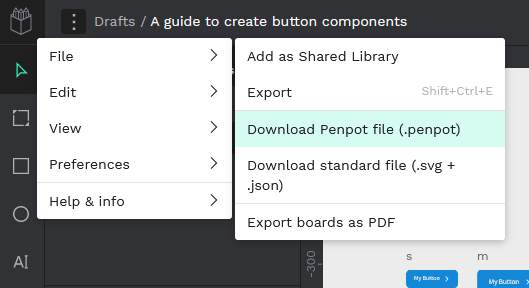
- In your file editor, locate the three dots icon in the top left corner of the top bar.
- Choose File > Download Penpot file (.penpot) to export and save your files locally.
Save Files Locally from File Browser:
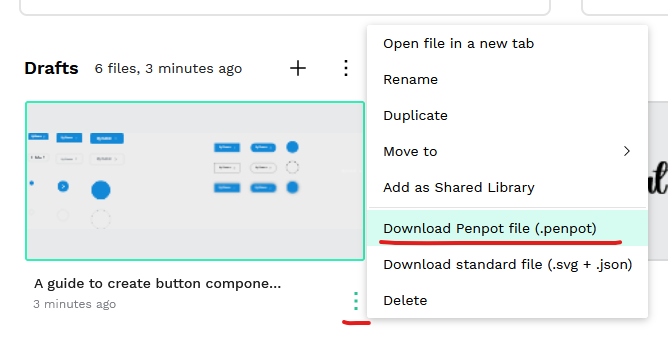
- In the file browser, select the three dots icon beneath the file thumbnail.
- Click “Download Penpot file (.penpot)” to save your files locally.
2- Exporting Images in Penpot:
Penpot offers four formats for image export: PNG, JPG, SVG, or PDF.
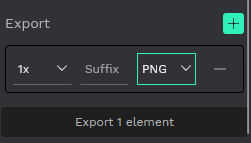
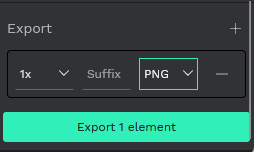
- Start by selecting a board from your design, then navigate to the Export section at the bottom of the right-hand sidebar.
- Click the + button, choose your desired file format (PNG, JPG, SVG, or PDF), and hit the “Export element” button.
Now you’re all set to efficiently save and export your Penpot files and images.
Now that you’ve mastered exporting files, continue to learn more Penpot tricks in our Penpot Tutorials: The Ultimate Guide to Mastering Design with Penpot.
Conclusion
Congratulations! You’ve successfully learned the ins and outs of saving files locally from both the file editor and browser, as well as exporting images in multiple formats using Penpot. These skills will undoubtedly enhance your workflow and make sharing your designs a breeze. Happy designing!