If you design UI Interfaces or work with design systems in Figma, your project’s file can reach an outrageous amount of layers. At some point you need to have a logical layer naming inside your file, to keep it organized, and easily accessible.
However, Renaming the Layers of a design file is a time-consuming task. If you don’t want to rename your file’s layers one by one, you have to learn how to rename your layers at scale. Using Figma Plugins, you can rename hundreds of layers at the same time with little effort.
In this tutorial, you’ll learn how to use Figma plugins to select multiple layers and edit their names simultaneously.
Prerequisites
Select Layers Plugin
For this tutorial we’ll need to Install the Select Layers Plugin. This plugin will help us select layers based on name, type, or similarity.

How to Install
- In Figma, navigate to Community > Plugins Select Layers.
- Hit the install button on the top right area of the plugin page.
Rename It Plugin
We also need to Install the Rename It Plugin. With the Rename It plugin, we can keep our Figma files organized, batch rename layers and frames.

How to Install
- In Figma, navigate to Community > Plugins Rename It.
- Hit the install button on the top right area of the plugin page.
Essential UI File
To practice renaming on a wide range of layers, we need a rich file that contains a good amount of components.
Essential UI will be perfect for this task. It is a Free Figma UI Kit with a good amount of UI components. We can find many layers to play with and experiment.
Please go duplicate the file Here to continue this tutorial.

Step 1 – Select multiple layers using the Select Layer Plugin
In this part, we’re going to select all the text layers of a button’s group inside the Essential UI file using the Select Layers plugin.
- Let’s open the Essential UI file that we’ve duplicated before
If you didn’t duplicate the Essential UI File, please go duplicate the file Here to continue this tutorial.

- Go to the _Components Page

- Zoom in to the first Buttons Group and Select it.

- Right click on the selected component group to show the context menu.
- In the Plugins section, choose Select layers > Select Layers by Type > Select Text Layers

If you didn’t install the Select Layers Plugin, please go install the plugin here to continue this tutorial.
The Select Layers Plugin will select for us all the text layers inside every button component.

As you can see in the layers panel, our layers name are named based on their content characters, which is the default naming setting of Figma – Button, Settings, More… etc.

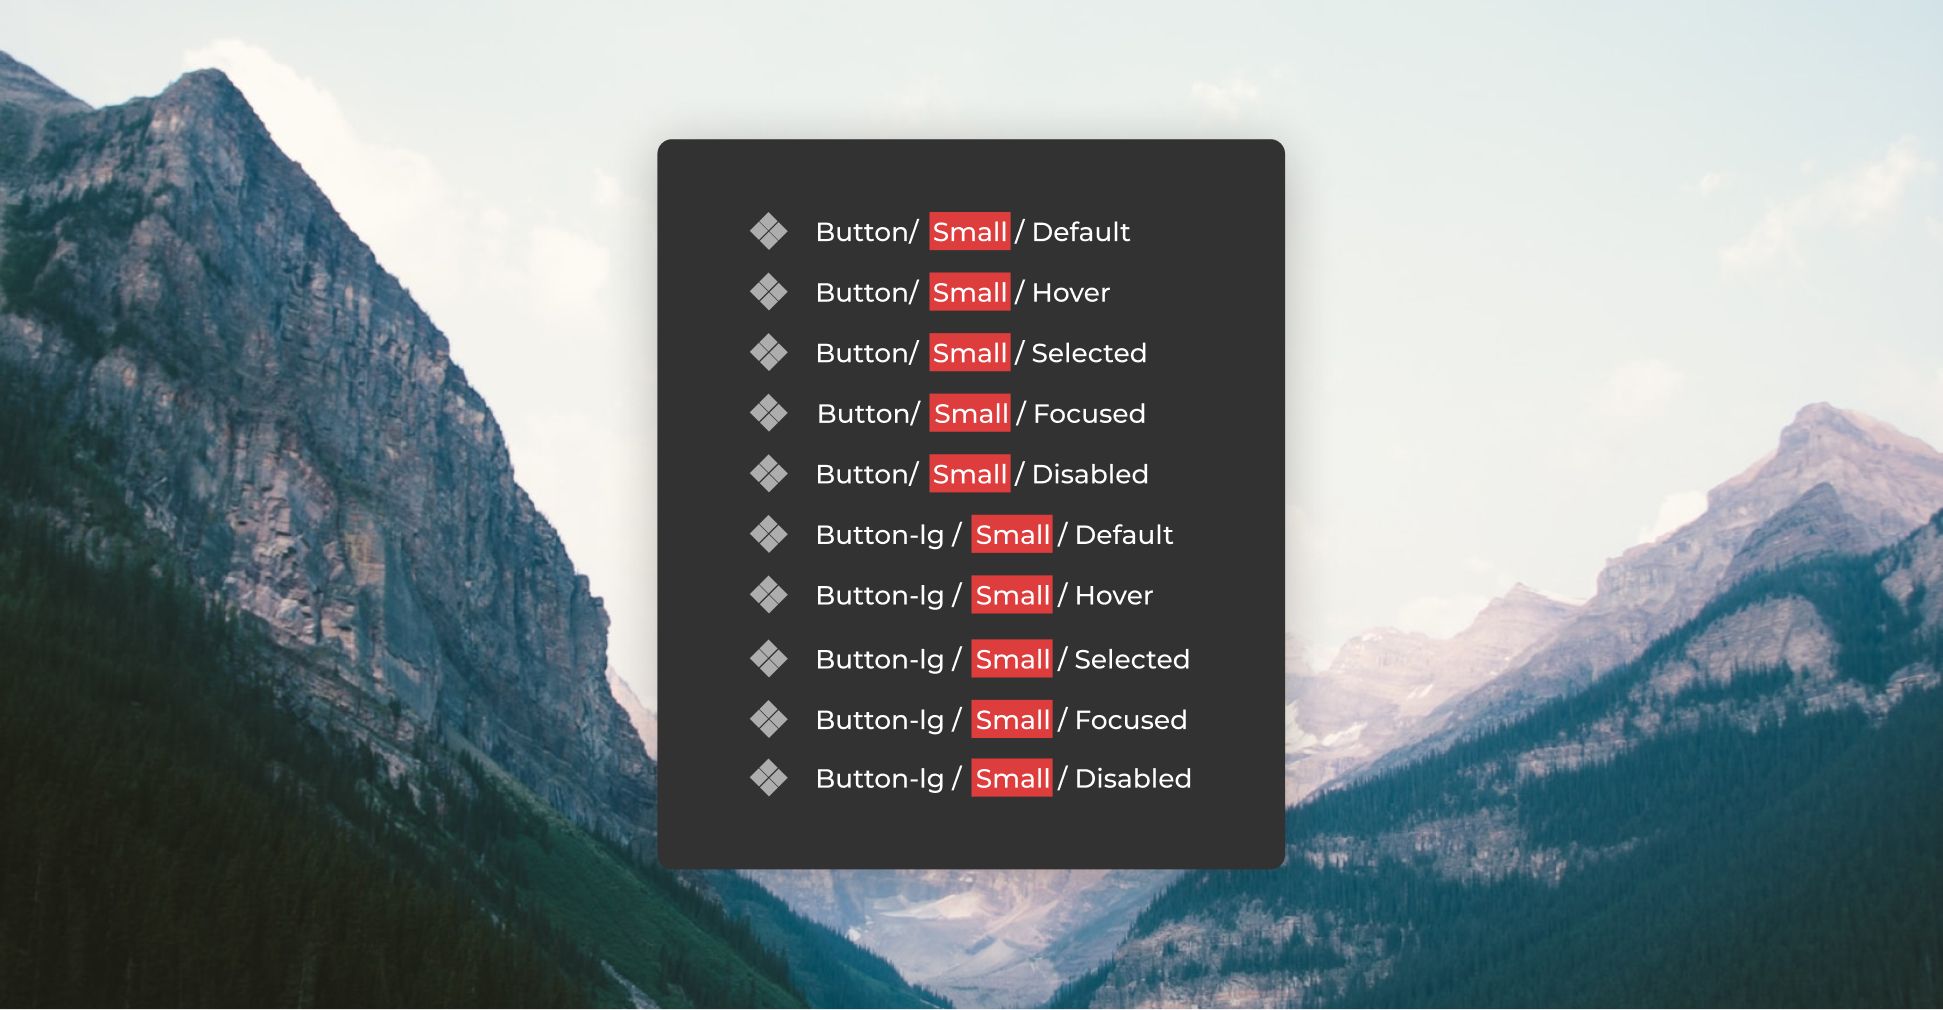
Our goal is to transform the default layers name to the following naming sequence (Parent/ Type /Font style). Basically, every text layer will have the name of its parent (btn) + its type name(text-layer) + the font style attached to it (btn-text). For example: Button to btn/text-layer/btn-text.

Step 2 – Rename Layers Using the Rename It plugin
After selecting our targeted layers, we’re going to edit the text layers name with the help of the Rename It plugin.
- Right click on the selected layer to show the context menu
- In the Plugins section, choose Rename It > Rename Selected Layers

If you didn’t install the Rename It Plugin, please go install the plugin here to continue this tutorial.
The Rename It plugin will give you two options to rename your selected layers.
1 – Add a static name value through the input form

2 – Use the Keywords options to make the name of your layers more dynamic using naming Variables like: the Page Name of the layer, the Parent Name of the layer, or It’s width or Height Value.

- To start, we’ll select the Parent Name variable in the Keywords section to assign the layer’s parent name.

In the input form of the plugin, a new symbol is added automatically that represent the parent name variable.
You can see a preview of all your selected layers names in the plugin’s footer section.

- Now add a slash / beside the variable symbol in the input form to create a separator
- Then tape text-layer/

- Back to the Keywords section, select the Style Name Variable

The final result should look like this:

- Finally, hit the Rename button to apply these settings to the selected layers.

Now, all our selected layers are renamed simultaneously.

Conclusion
In this brief tutorial, we’ve learned together how to edit layer’s name at scale. You can continue experimenting with the Essential UI components and the Rename It plugin Variables to rename, delete, and combine layer’s name.
Thank you guys for your time and I will see again soon in another Figma Tutorial.


