When designing any landing page, keeping conversion-focused strategies in mind is crucial. Check out our Figma Landing Page Design: Mastering UI/UX for Conversion-Driven Websites article for more insights.
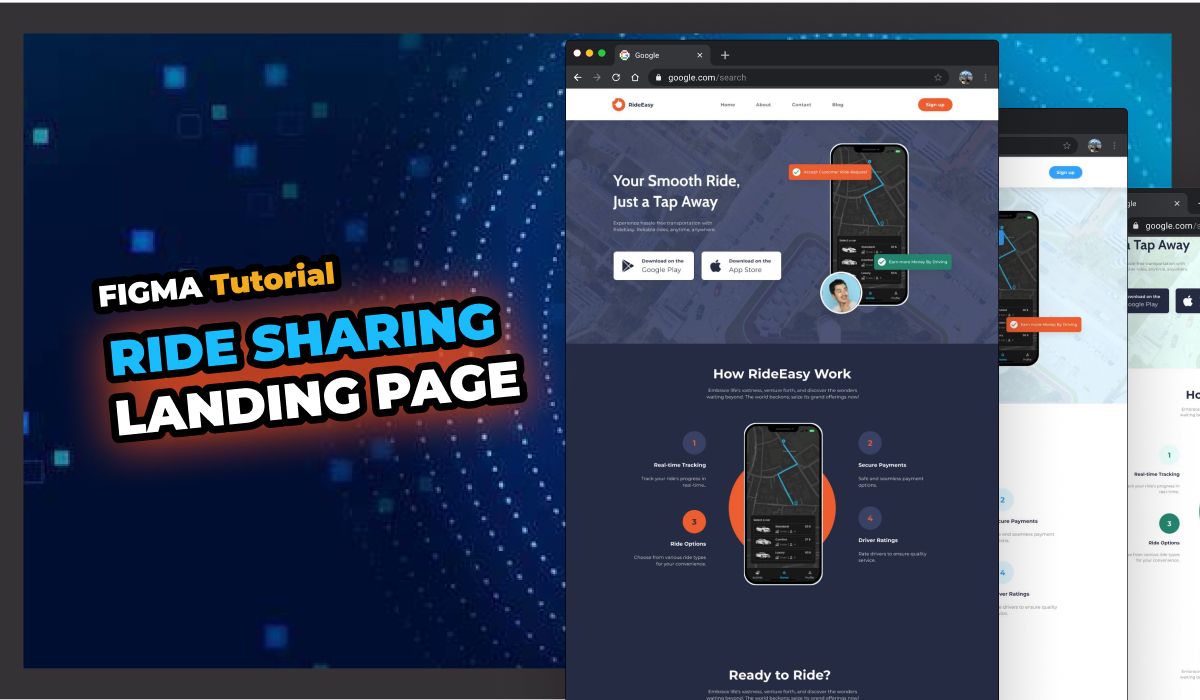
Creating an outstanding landing page for your ride-sharing app is crucial for capturing your audience’s attention and driving conversions. Throughout this ride-sharing app landing page tutorial, we’ll equip you with the essential knowledge and techniques to create exceptional user experiences that leave a lasting impact.
So, fasten your seatbelts, as we dive into the world of Figma and “Master UI,” uncovering the secrets to crafting an unforgettable landing page that will wow your potential riders!
🚀 Discover How To: 🚀
Craft a stunning and user-friendly landing page layout for your ride-sharing app using Figma.
Utilize the power of the “Master UI” design system to create cohesive and efficient designs that enhance the user experience.
Let’s embark on this creative adventure and revolutionize the way you showcase your ride-sharing app!
📥 Resources we need for this tutorial 📥
Before we begin designing the perfect landing page for your ride-sharing app with the “Master UI” Design System, let’s make sure you have all the essential tools to get started!
Download the Ride-Share UI Design System File
To fully utilize the power of “Master UI,” you’ll need to download the custom design system file tailored for ride-sharing apps. Simply click on the link below to access and download the file:
📥 Download Ride-Share UI Design System File
Ready to create more effective landing pages? Read our full guide on Figma Landing Page Design: Mastering UI/UX for Conversion-Driven Websites for tips on boosting conversions.
Conclusion
We hope this tutorial has inspired you to explore the limitless possibilities of Figma and empowered you to create an outstanding landing page for your ride-sharing app that leaves a lasting impact on your potential users.
Thank you for joining us on this creative journey. Be sure to put your newfound skills into practice and continue exploring the fascinating world of UI design. Don’t forget to subscribe to our blog for more exciting tutorials and updates on creating remarkable experiences for your ride-sharing app users!