
Do you want to learn about Figma from the ground up? You are in the right place.
Figma comes with a hundreds of features to assist you in creating fantastic websites. While every tool has its place in specific situations, just a few are absolutely necessary for getting the most out of Figma. Follow along as we walk you through the most important Figma features in clear step-by-step tutorials.
This tutorial is designed for absolute beginners and will teach you how to bend shapes in Figma.
So, without further ado, let’s get started.

Bend a rectangular shape
1 – Create a rectangle
- Select the rectangle shape tool on the top bar or use the keyboard shortcut R.
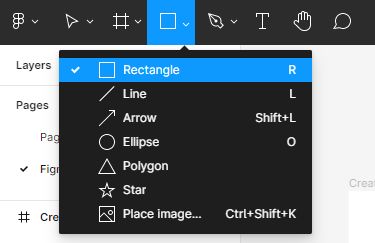
- Click on a spot in the canvas and drag to draw a shape.

2 – Bend the rectangle
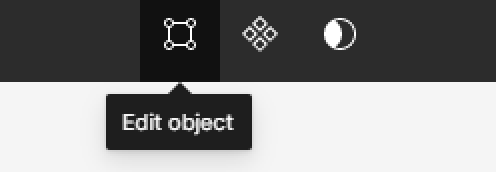
- Select the rectangle layer and head to the center toolbar and select the Edit object icon.

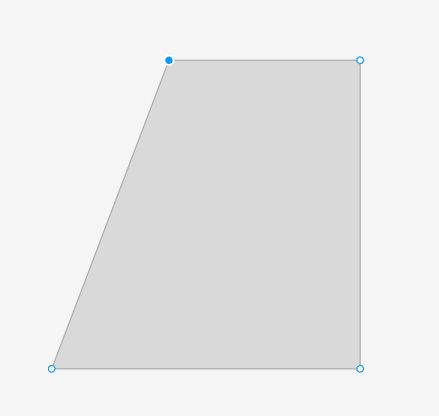
After selecting Edit object, four dots will appear in the corners of the rectangle.
- Select one of the corner points and drag it to bend the rectangle.
- Once you’re happy with how your shape looks, you can leave edit object mode by clicking the Done button on the toolbar.

Bend a circle
1 – Create a circle
Click the arrow next to the Rectangle to open the shape tools menu.
- Select the Ellipse shape tool on the top bar or use the keyboard shortcut O.
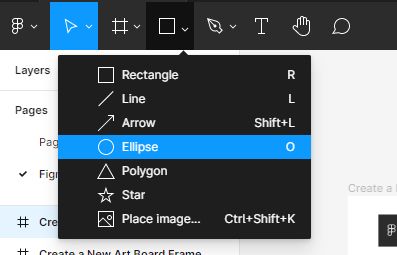
- Click on a spot in the canvas and hold down the shift key then drag to draw a perfect circle.

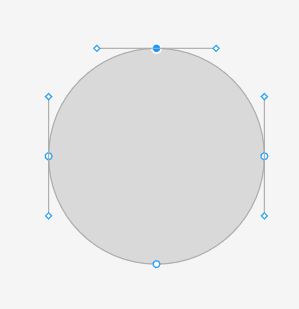
2 – Bend the circle
- Select the ellipse shape and head to the center toolbar and select the Edit object icon.
After selecting Edit object, four dots will appear in the edges of the ellipse.
- Select one of the corner points and drag it to bend the ellipse.
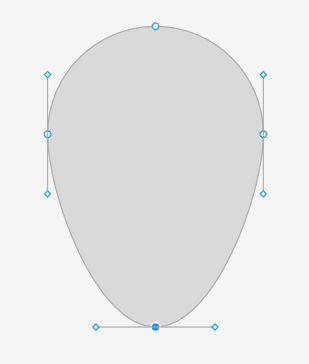
- Once you’re happy with how your shape looks, you can leave edit object mode by clicking the Done button on the toolbar.

Conclusion
Congratulations, you now know how to bend shapes in Figma! I hope you found this tutorial helpful; if so, you’ll appreciate our other Figma tutorials. If you want to continue your Figma learning experience, we’ve got you covered with everything from creating a new file to organizing your files to collaborating with your team.
Please share this tutorial with your friends who want to learn Figma; it would mean a lot to us. We’ll see you in the next Figma tutorials.