Do you want to learn about Figma from the ground up? You are in the right place.
Figma comes with a hundreds of features to assist you in creating fantastic websites. While every tool has its place in specific situations, just a few are absolutely necessary for getting the most out of Figma. Follow along as we walk you through the most important Figma features in clear step-by-step tutorials.
This tutorial is designed for absolute beginners and will teach you how to create a layer mask in Figma.
So, without further ado, let’s get started.
Shape as a layer mask
The use of a shape as an image mask allows you to reshape virtually any image.
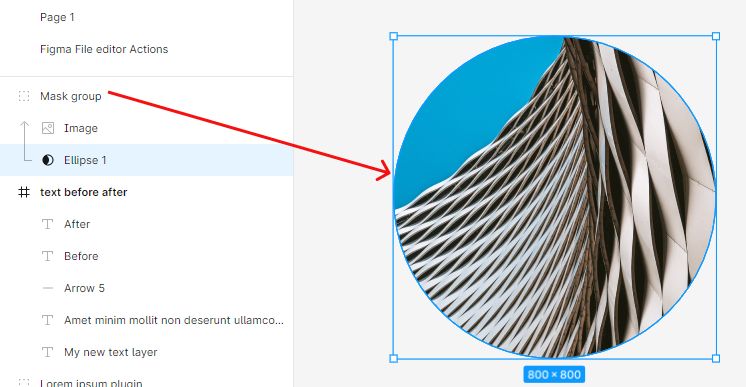
The following is an example of how you can change the shape of a rectangular image into a circular one using masks.
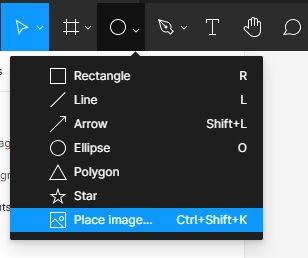
First, let’s create a new shape using the Ellipse tool.
- Click the arrow next to the Rectangle in the toolbar to open the shape tools menu, and select the Ellipse tool.

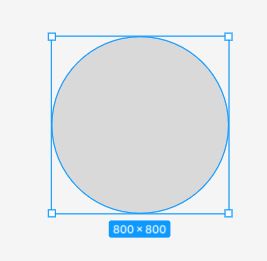
- Click on a spot in the canvas and drag to draw a circle shape.
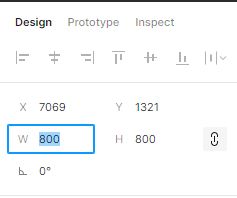
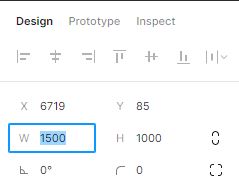
- Go to the right-hand sidebar and change its width to 800 and height to 800.
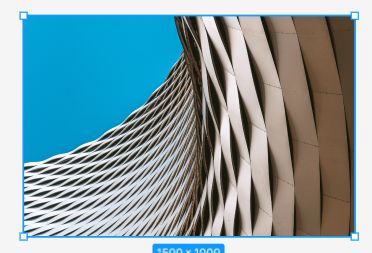
- Next, Import an image from your local files using the Place Image tool.
- Select the image layer and change its width to 1500 and height to 1000.
- Next, let’s drag the image layer on top of the circle shape.
Make sure that the image layer is above the circle shape.
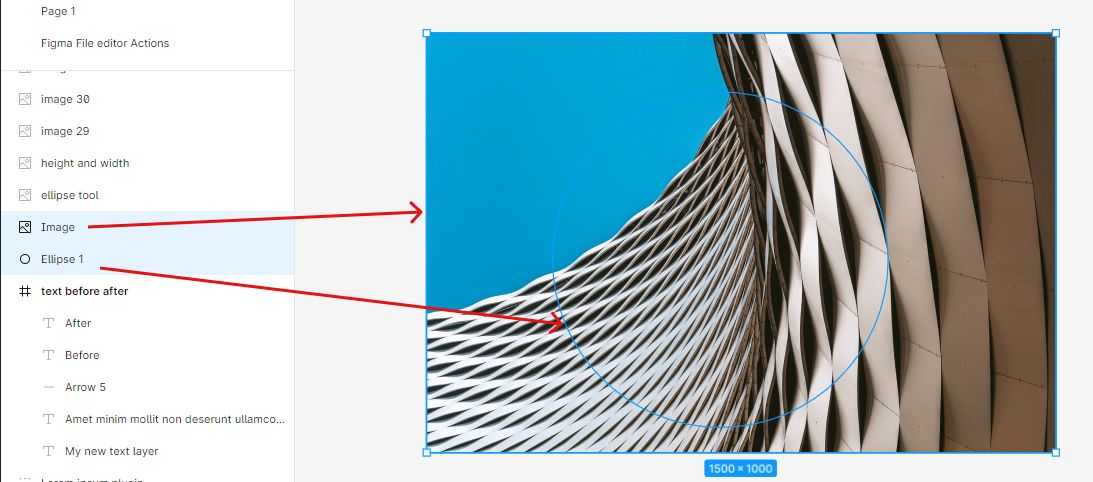
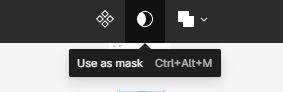
- Finally, pick both the image and shape layer, and then click the Use as mask tool in the center top toolbar to create a circular mask for the image.
Text as a layer mask
Like any other Figma shapes or layers, text can be used as a layer mask.
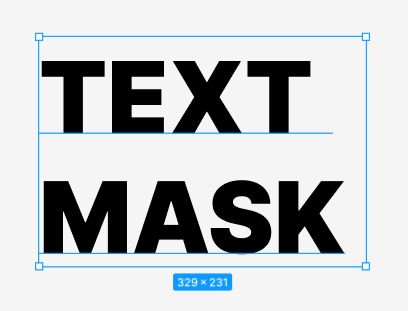
Here’s how to mask an image using a text layer.
- Pick the text tool in the toolbar or use the shortcut T.
- Click and drag on a spot in the canvas to draw a text box then type in your text.
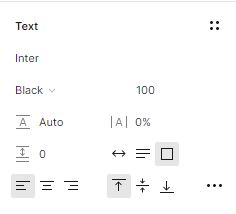
- Go to the text section in the right-hand sidebar and give it the following settings:
Font-family: Inter
font-weight: Black
font-size: 100
- Next, import an image from your local files using the Place Image tool.

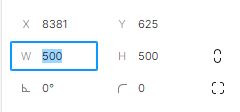
- Select the image layer and change its width to 500 and height to 500.
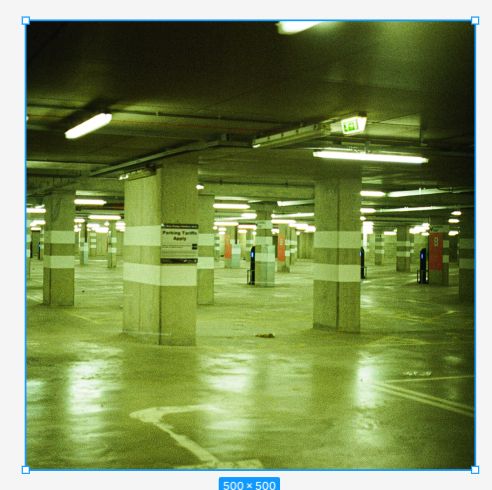
- Next, drag the image layer on top of the text layer.
Make sure the image layer is above the text layer.
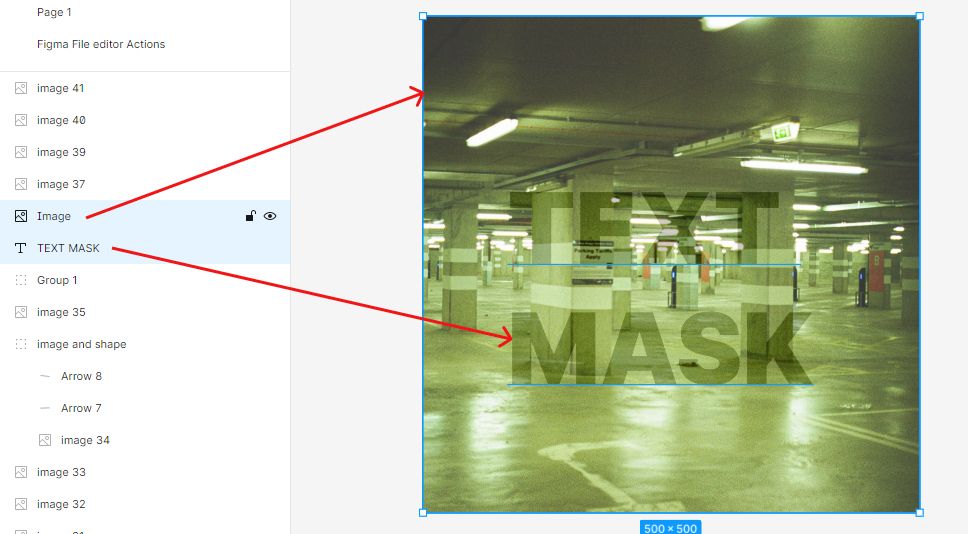
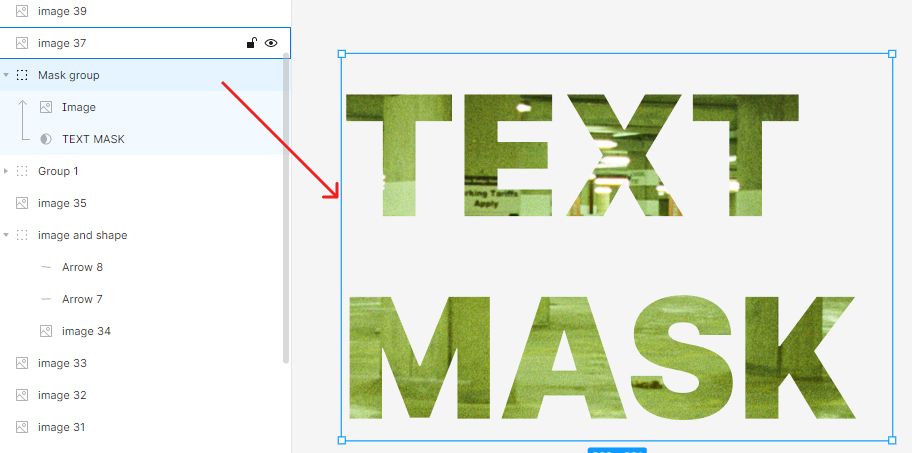
- Finally, pick both the image and text layer, and then click the Use as mask tool in the center top toolbar to create a text mask for the image.

Conclusion
Congratulations, you now know how to create a shape and a text layer mask! I hope you found this tutorial helpful; if so, you’ll appreciate our other Figma tutorials. If you want to continue your Figma learning experience, we’ve got you covered with everything from creating a new file to organizing your files to collaborating with your team.
Please share this tutorial with your friends who want to learn Figma; it would mean a lot to us. We’ll see you in the next Figma tutorials.