Do you want to learn about Figma from the ground up? You are in the right place.
Figma comes with a hundreds of features to assist you in creating fantastic websites. While every tool has its place in specific situations, just a few are absolutely necessary for getting the most out of Figma. Follow along as we walk you through the most important Figma features in clear step-by-step tutorials.
This tutorial is designed for absolute beginners and will teach you how to create an SVG file in Figma.
So, without further ado, let’s get started.

Create an SVG in Figma
For this tutorial we’ll create a logo SVG file, and we’ll use the Dropbox logo. Let’s get started by downloading the Dropbox logo from the Figma community.
1 – Duplicate a Figma file from the Figma community
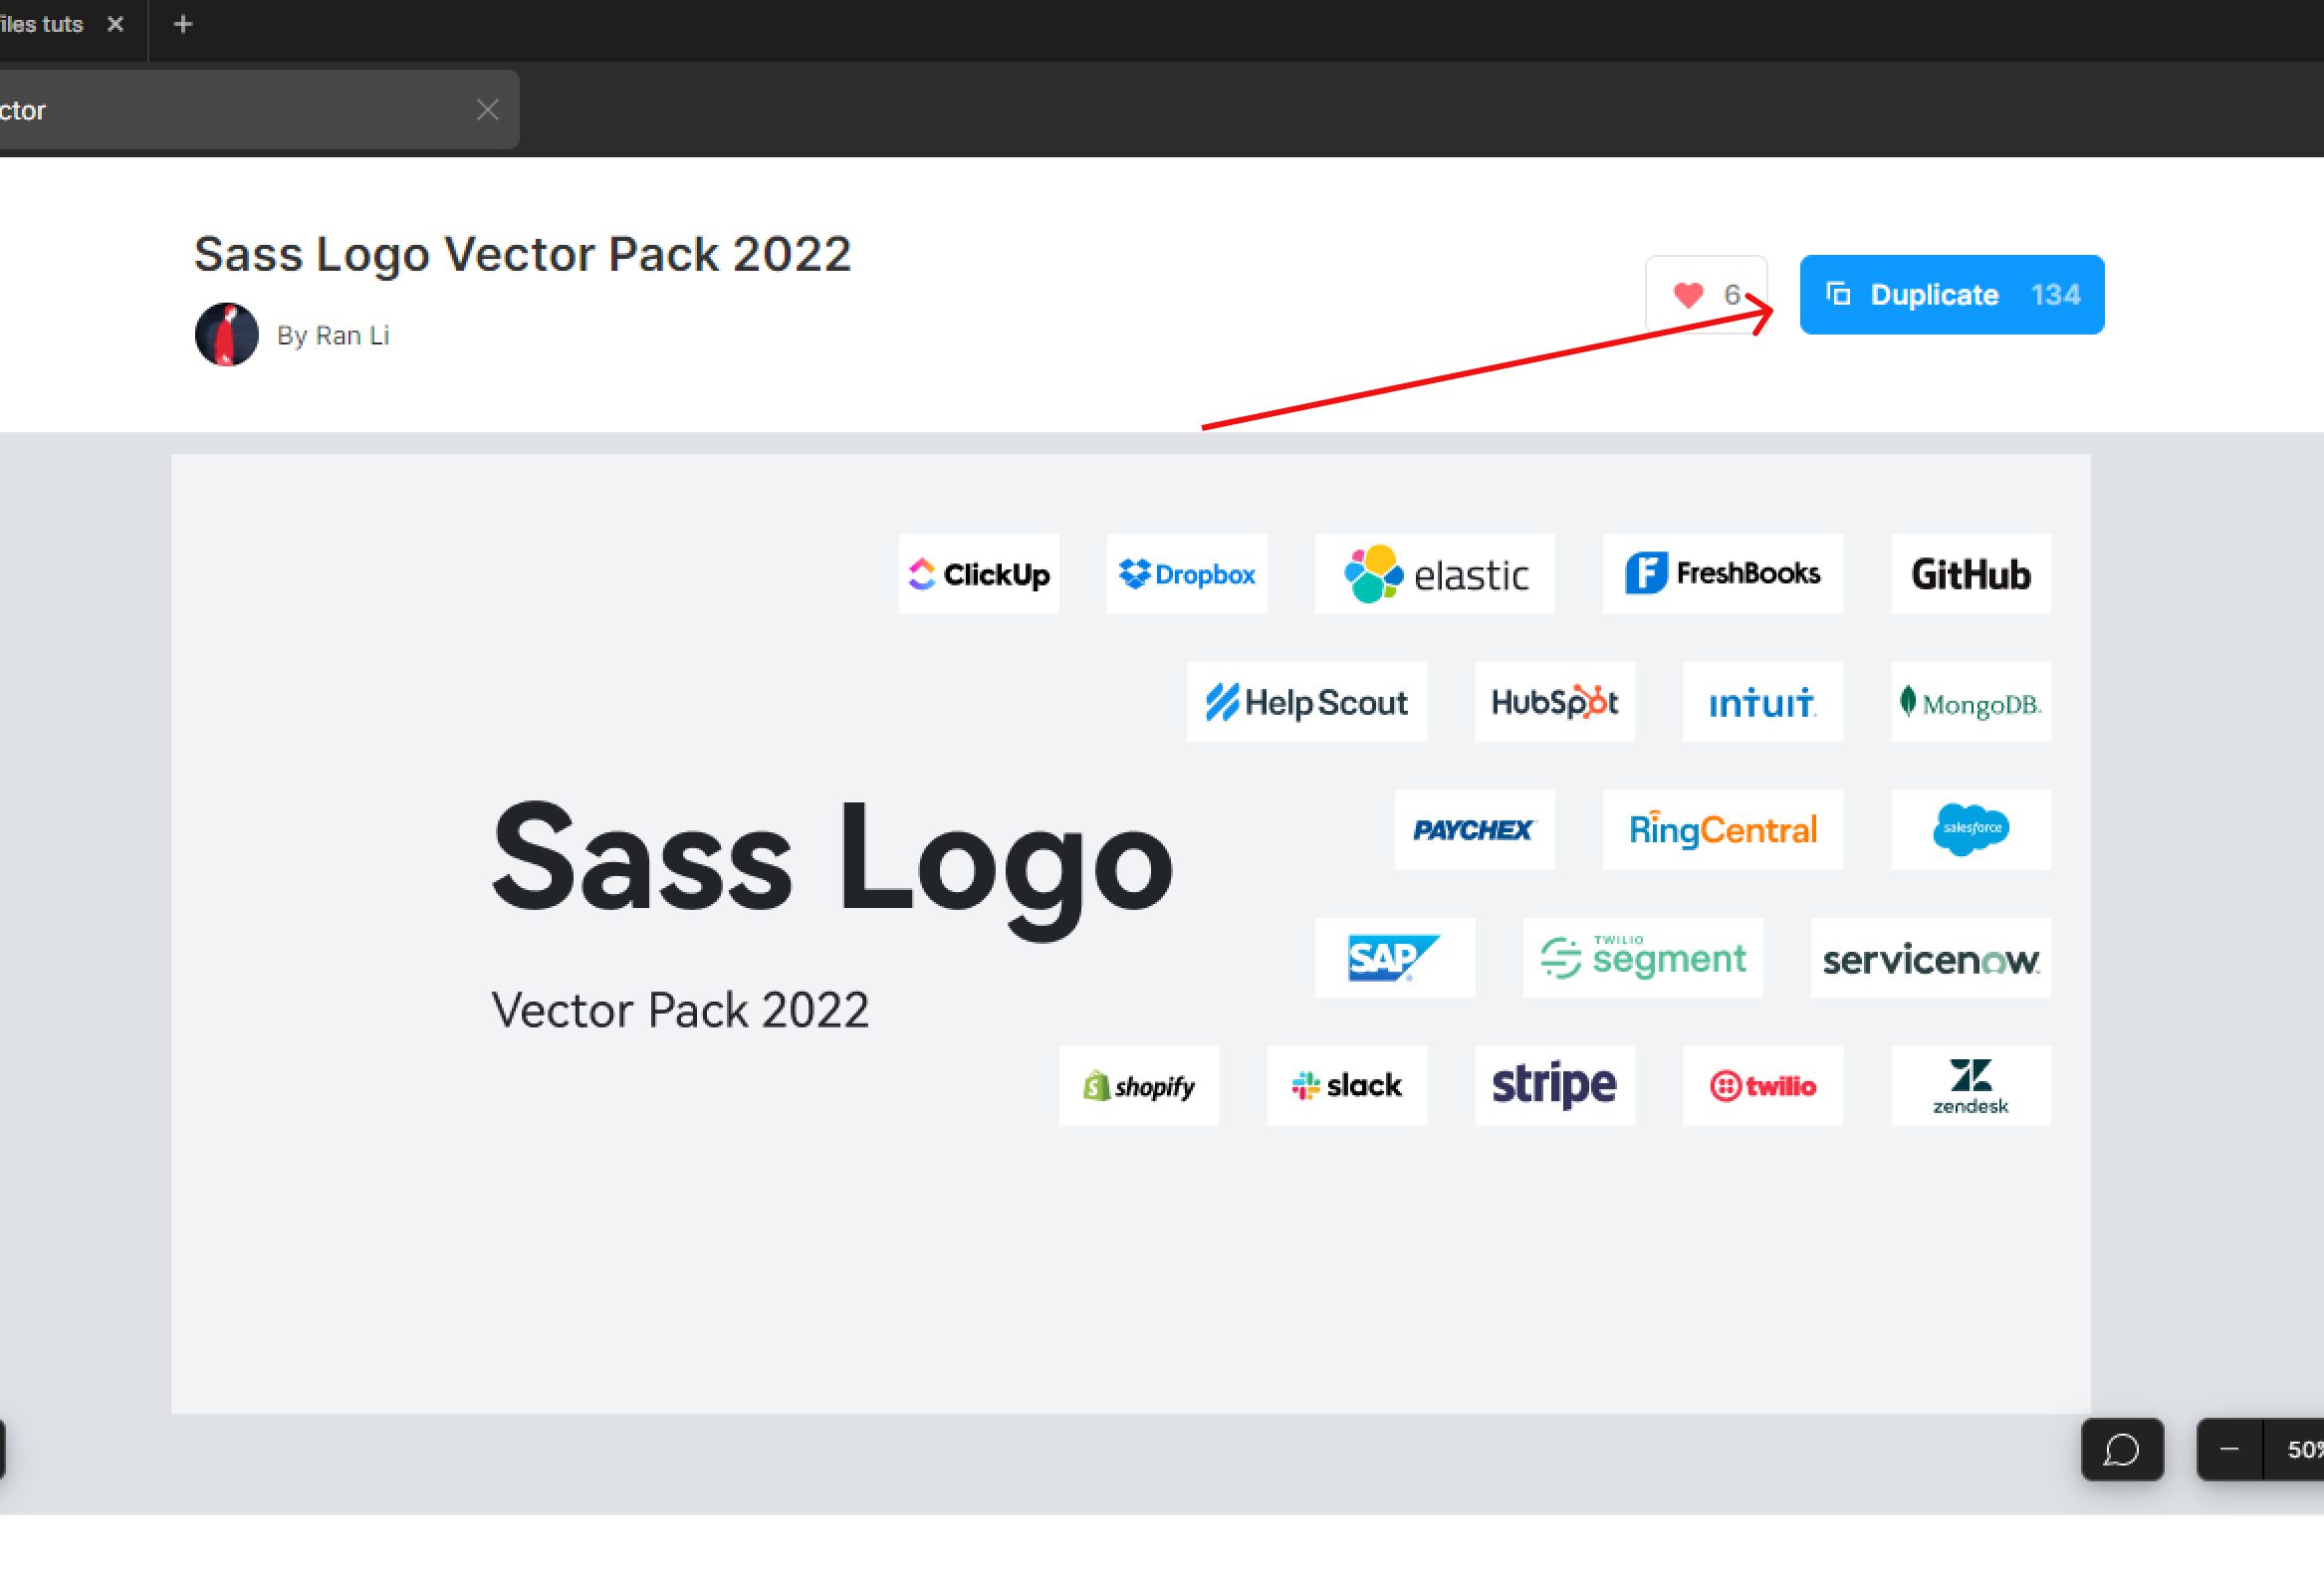
We’ll be using Ran Li‘s Sass Logo Vector Pack for this tutorial.
- Go to the following URL to download the file to your Figma file browser: https://www.figma.com/community/file/1111557324898251942
- Then, click the Duplicate button at the top right of the file’s page.
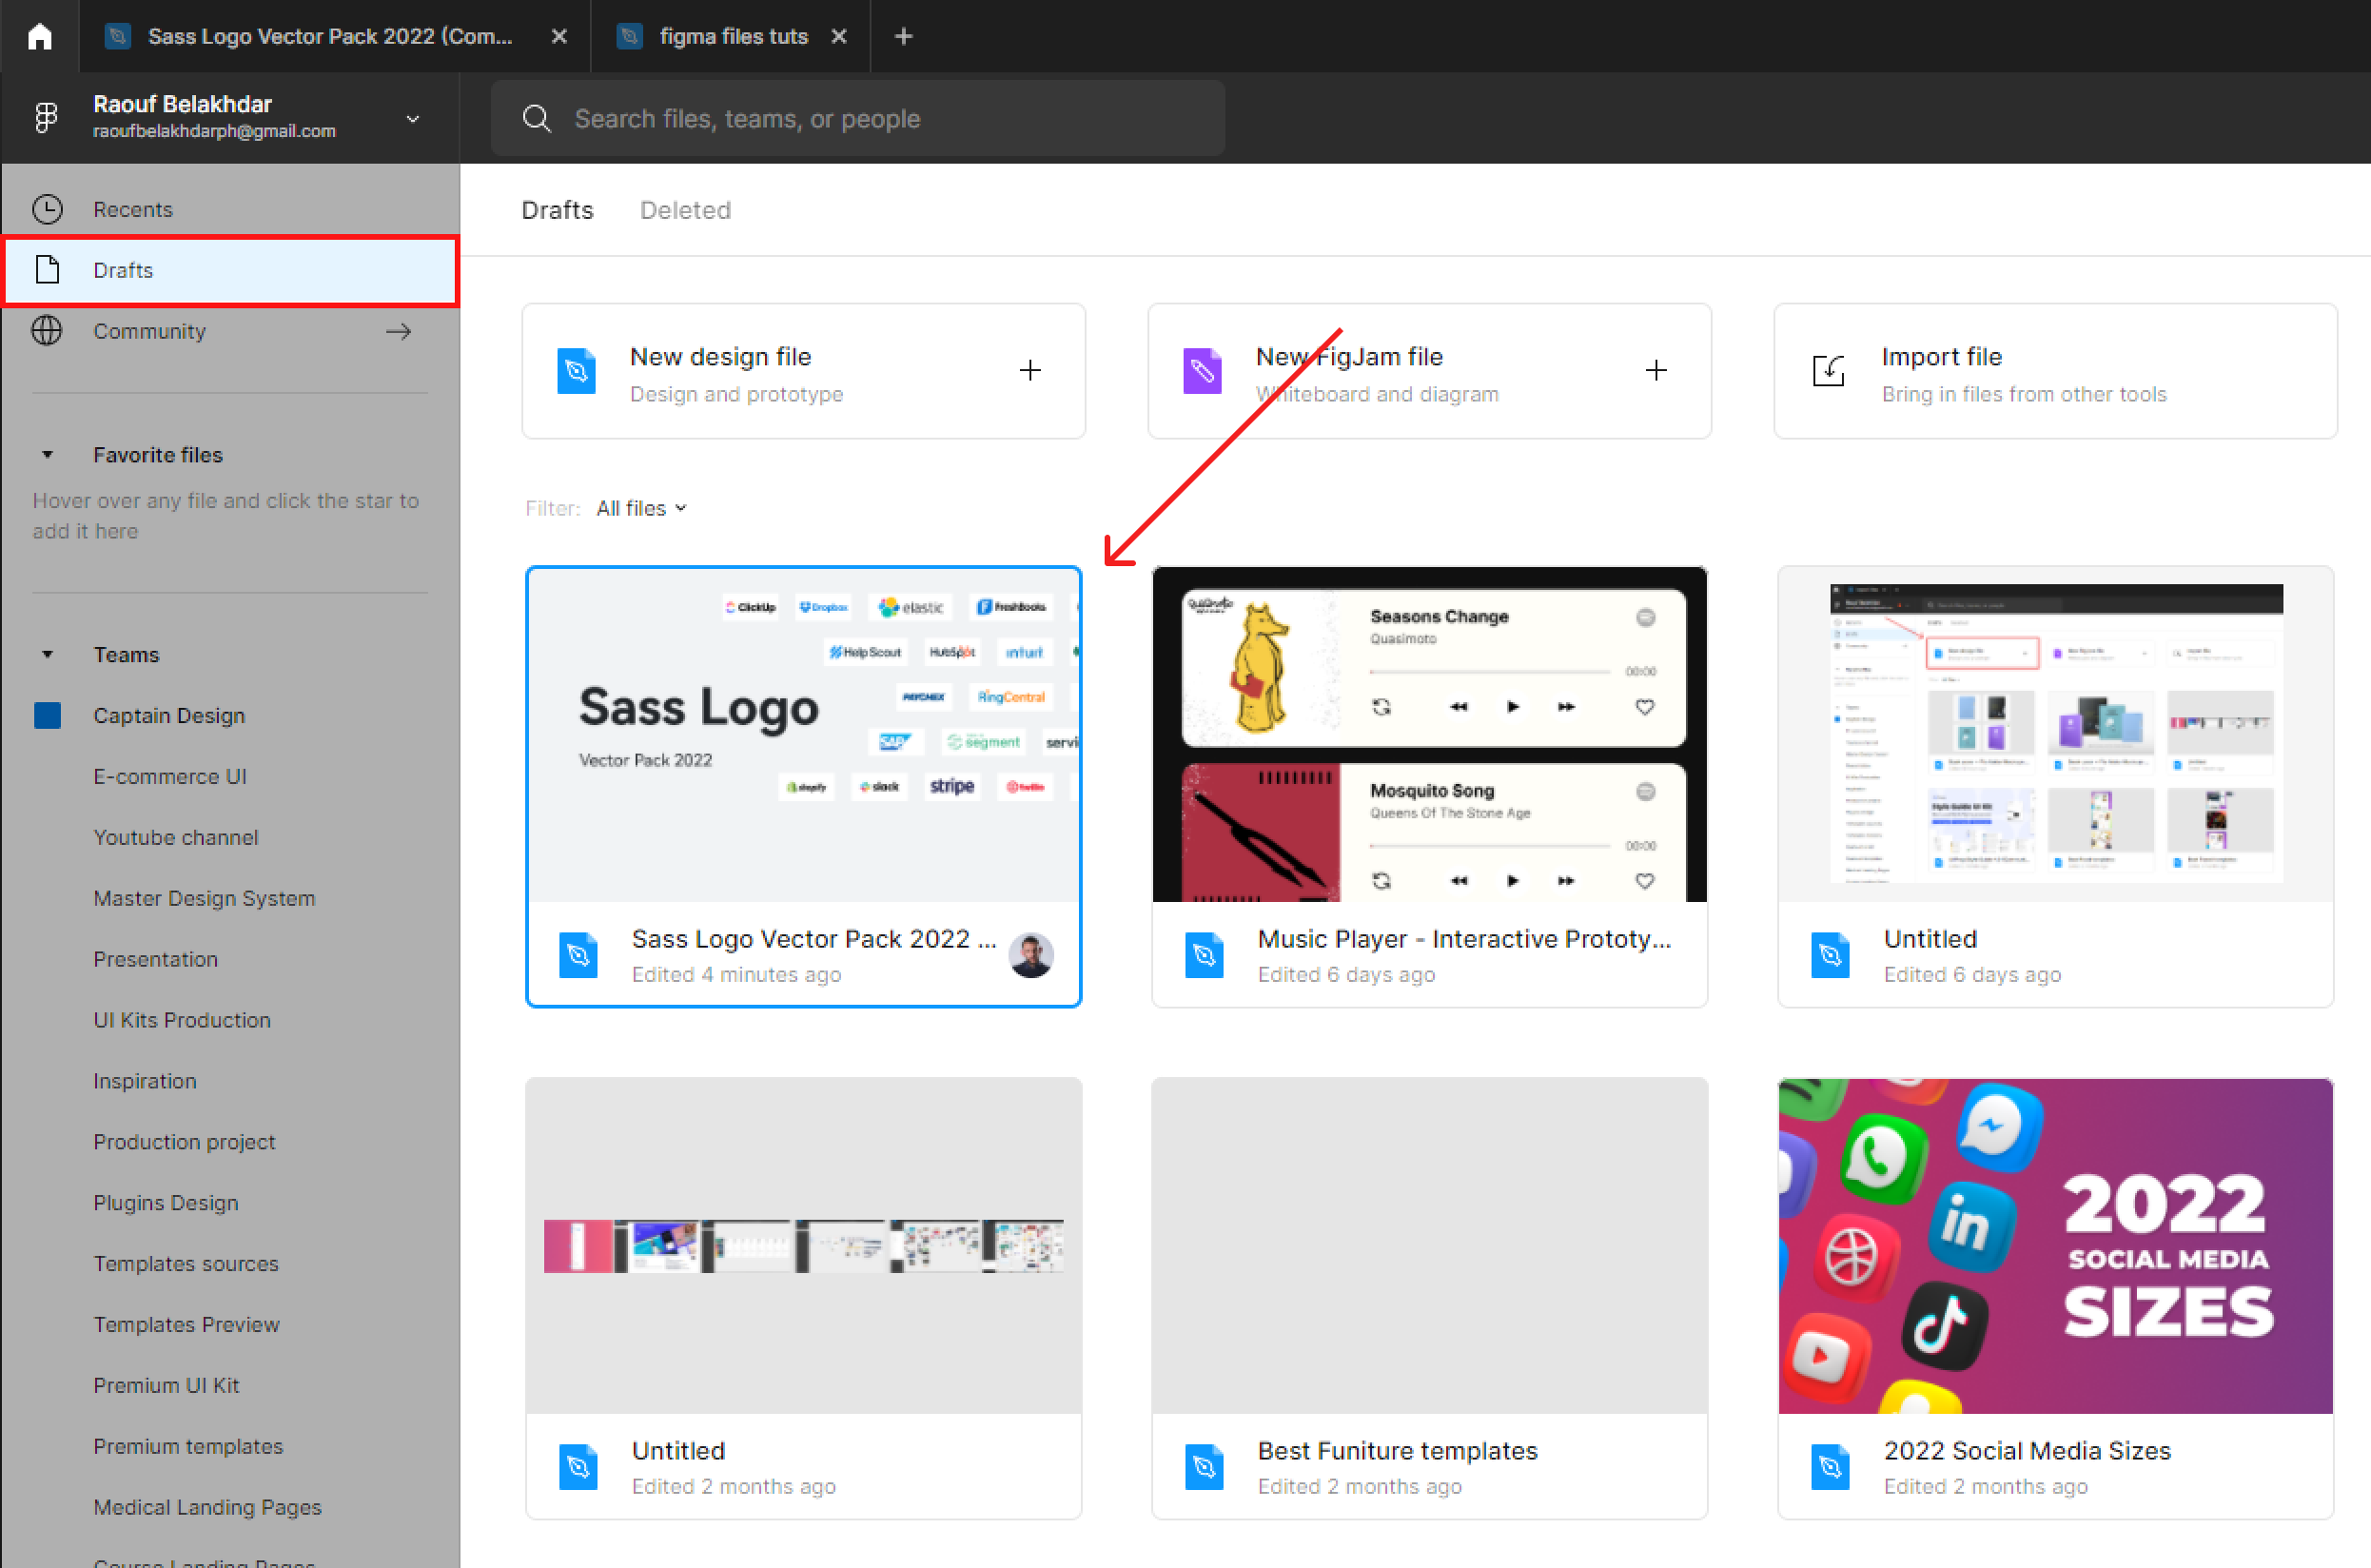
Once you’ve duplicated the file, it will automatically open in your Figma editor.

If the file doesn’t open automatically in a new angle, go to your Figma files browser and select Drafts from the left-hand sidebar.
You’ll find the file first, along with all of your drafts.
2 – Grab the Dropbox logo
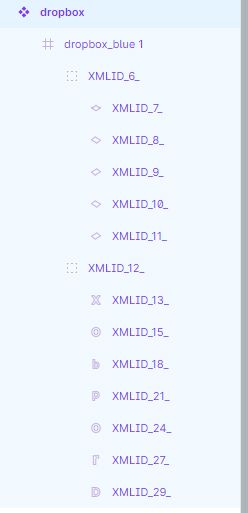
In Sass Logo Vector Pack file, zoom in and select to the Dropbox logo.
Zoom in shortcuts:
Trackpads:
- Stretch two fingers apart to zoom in
- Pinch two fingers together to zoom out
Apple Magic Mouse:
- Hold down ⌘ Command (Mac) or Ctrl (Windows) and scroll up and down
- Double-tap with one finger to zoom in and back out
Another type of mouse:
- Hold down ⌘ Command (Mac) or Ctrl (Windows) and scroll the mouse wheel up to zoom in or down to zoom out.
Note that the Dropbox logo is composed of multiple vector layers.
Next, We’re going to use the Figma export settings to convert the logo to SVG.
3 – Export Logo to SVG
Make sur the Dropbox logo is selected.
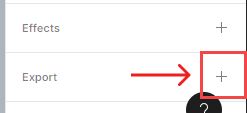
- Head to the Export section in the right-hand sidebar.

- Select the + icon in the right corner of the Export section.
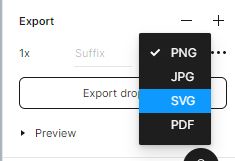
- Select SVG from the image format dropdown menu.
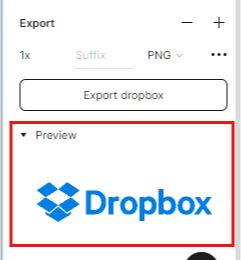
You can preview the image in the preview toggle before exporting it.
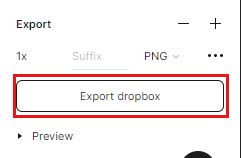
Hit Export button and select your export location from your local files.
Conclusion
Congratulations, you now know how to duplicate a Figma file from the Figma community and export Logo to SVG! I hope you found this tutorial helpful; if so, you’ll appreciate our other Figma tutorials. If you want to continue your Figma learning experience, we’ve got you covered with everything from creating a new file to organizing your files to collaborating with your team.
Please share this tutorial with your friends who want to learn Figma; it would mean a lot to us. We’ll see you in the next Figma tutorials.