You don’t need to be a Figma pro or pay for expensive assets to create your own Landing Page Design. With a little practice of the basic tools in Figma and some good tips and tricks, you can create your own Landing page designs in no time at all.
In this tutorial series, I will guide you through all the steps to properly create a complete landing page using Figma.
Once you finish this series, you’ll learn how to use Figma Components, Styles, Constraints, Responsive layouts and discover how to use different plugins to get an amazing result. After this series, you won’t need more than what we’ll cover here to create a complete web page from scratch.
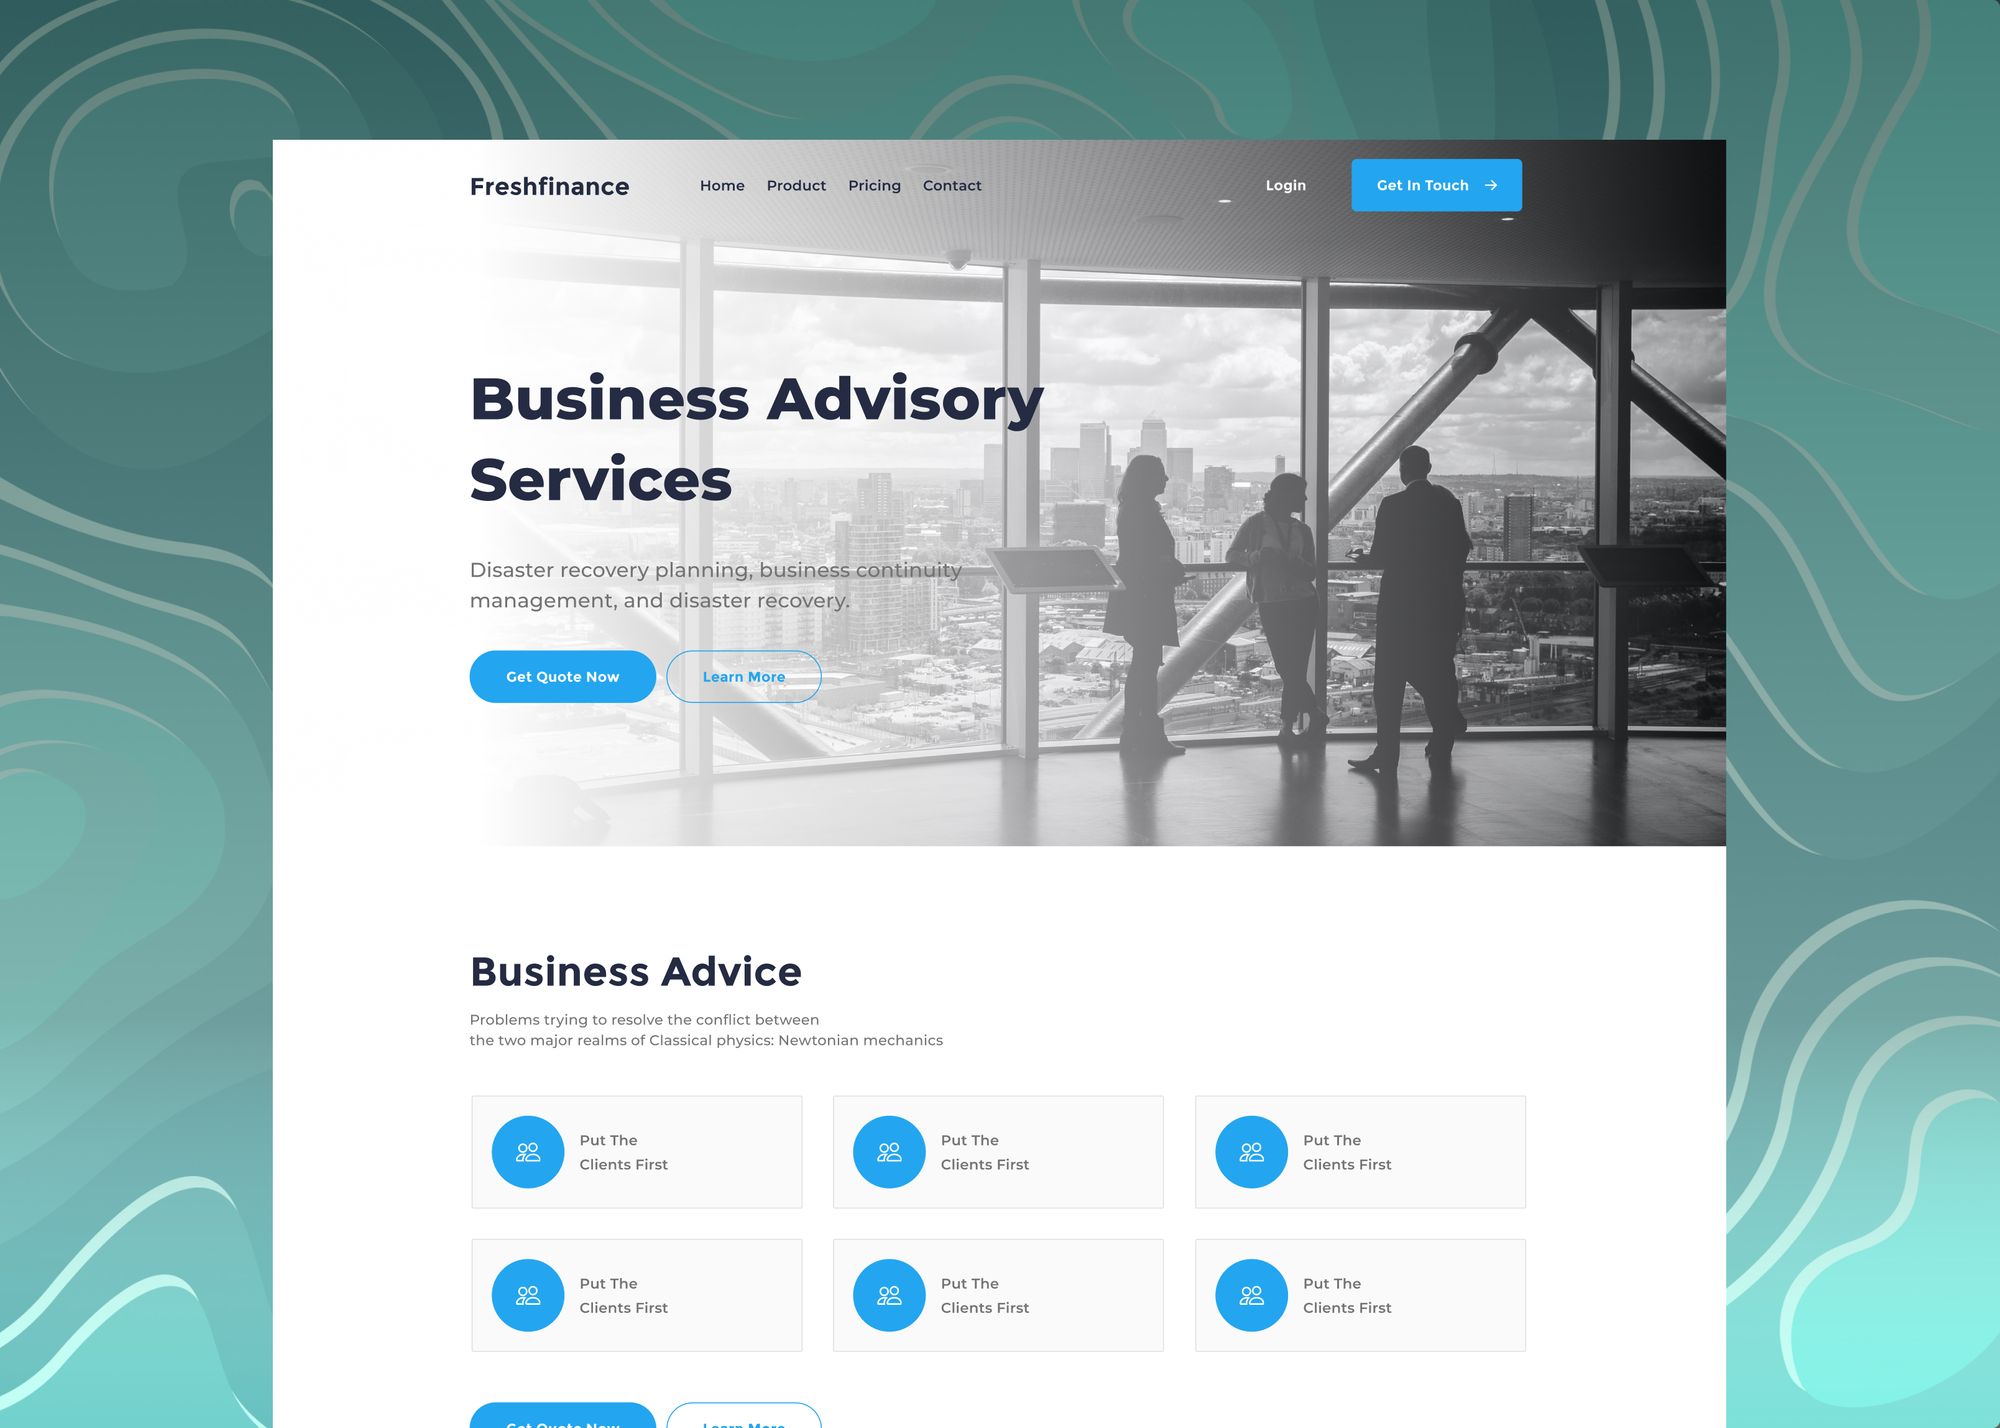
Here is a snapshot of the actual landing page we’re going to design in this tutorial.
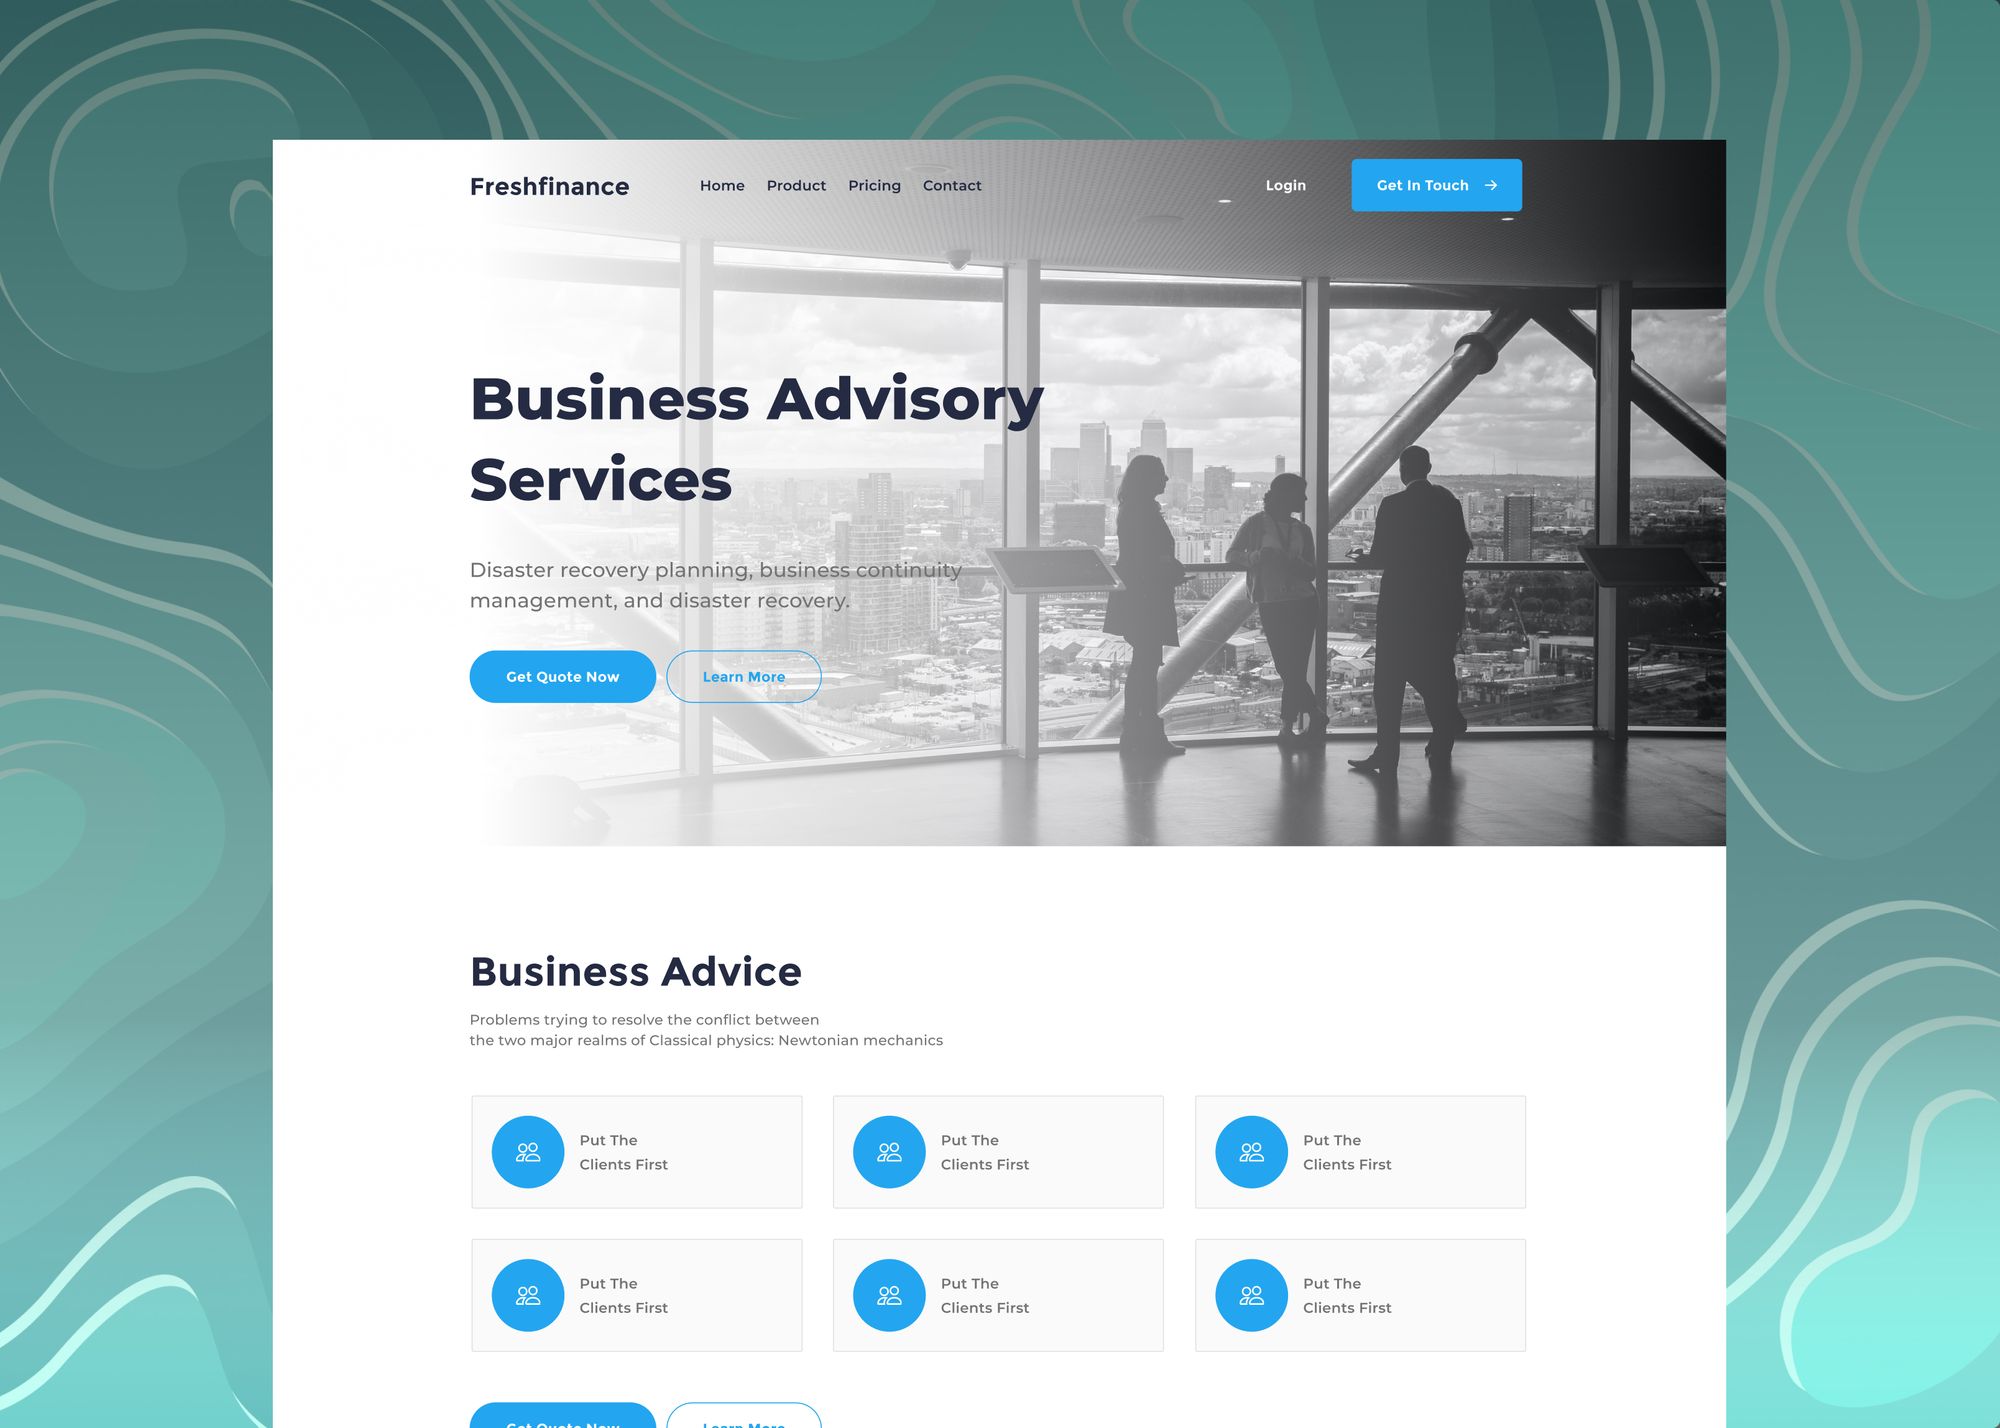
To start, you can open the final tutorial file to get an idea of what you will create in this lesson.
Tutorial Overview
We broke this tutorial series down into five major parts. Each part of this series will cover a landing page UI element design:
- 1 – How to design the header element of the landing page
- 2 – How to design the features element of the landing page
- 3 – How to design the testimonials element of the landing page
- 4 – How to design the call to action element of the landing page
- 5 – How to design the footer element of the landing page
Prerequisites
To complete this tutorial, we’ll need four main Figma plugins: Iconify, Unsplash, Content Reel, and Map Maker. We’ll also use the Figma Essential Ui file to create our landing page components.
Iconify
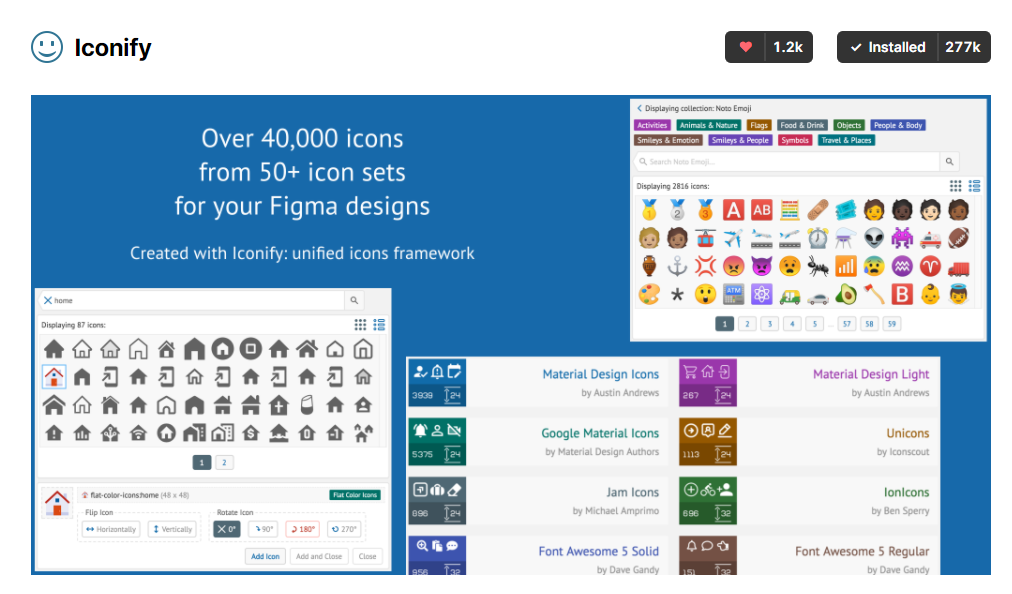
For all the icons resources used in this tutorial, we’ll use a Figma plugin called Iconify. With Iconify plugin, we can access 40k icons right on our project canvas. Download the Iconify plugin right here
Unsplash
Every image stock used in this project is provided from unsplash.com. Unsplash designed a Figma plugin that helps us access all the Unsplash library with a click of a button. Please download the Unsplash plugin right here.
Map Maker
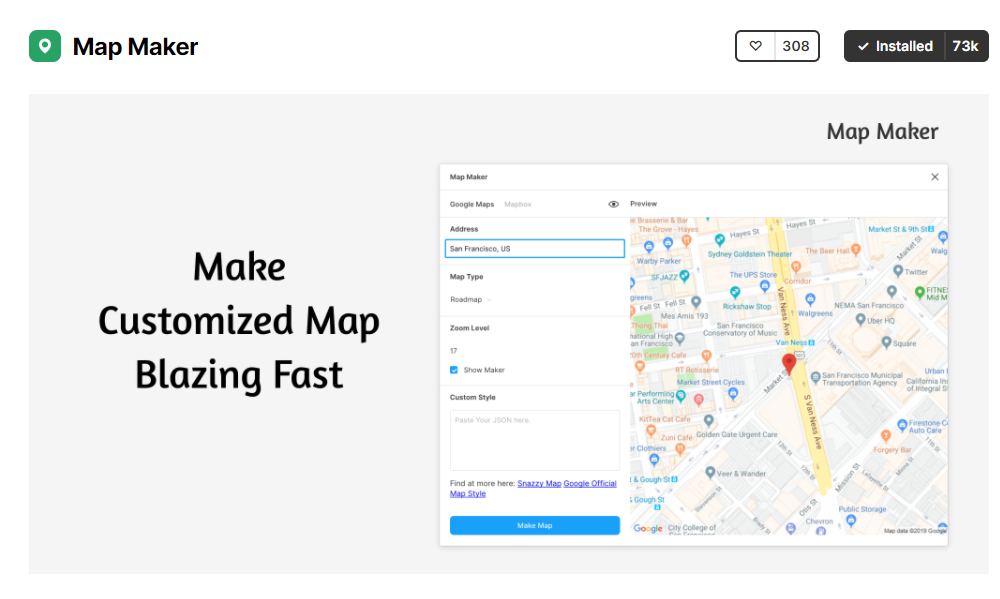
We’ll generate maps with the help of the Map Maker plugin.
Download the Map Maker plugin right here.
Content Reel
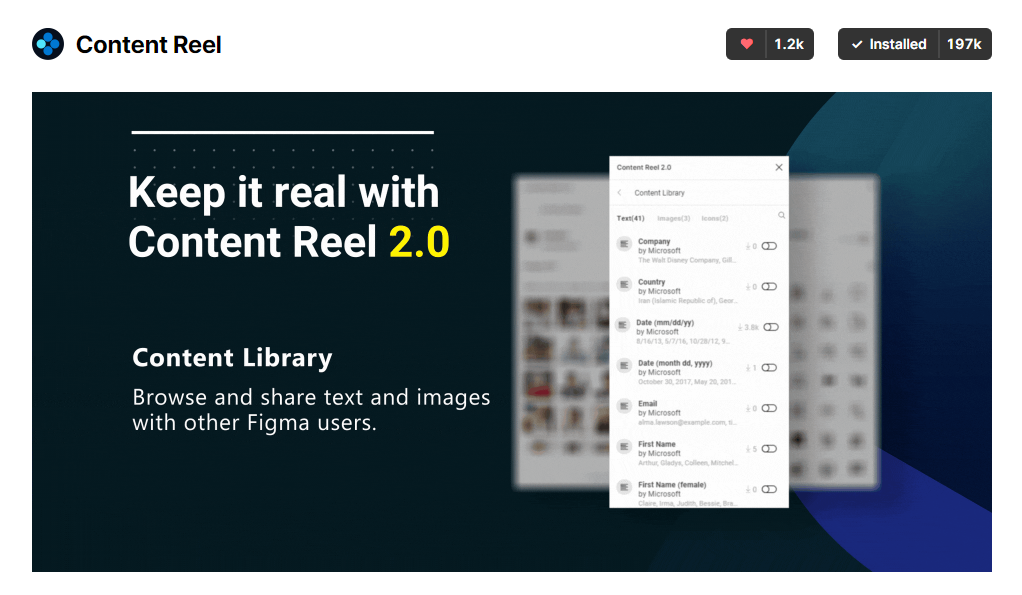
For the text content, We’ll avoid lorem ipsum dummy text content in our design. Instead, we’ll use reel text contents with a Figma plugin called content reel.
You can download the Content Reel plugin right here.
Essential Ui
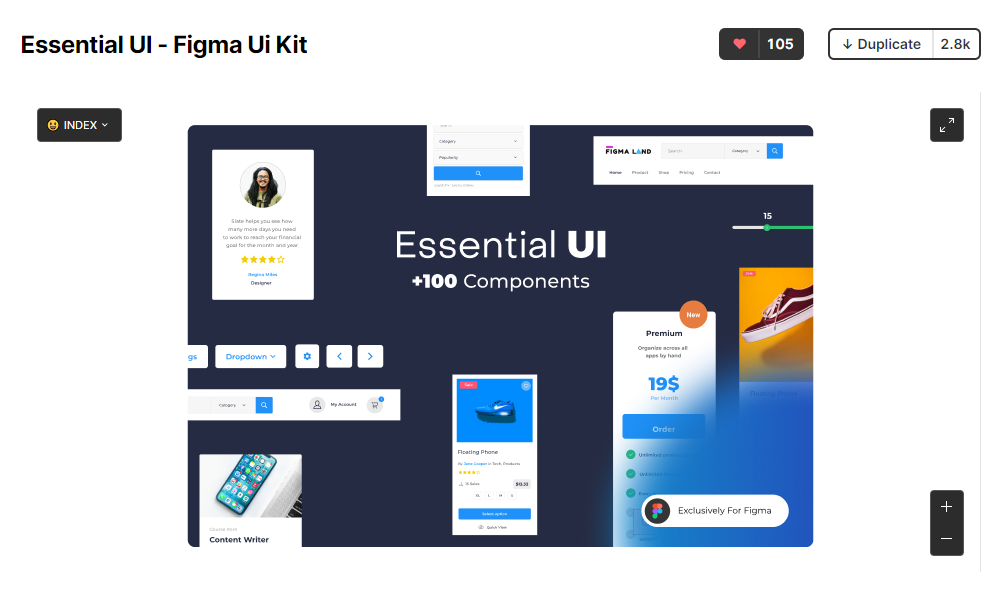
The goal of this tutorial is not to design a landing page from scratch. In fact, creating every landing page components like: buttons, navbars, and content cards from scratch is tough, Instead we’ll use a Figma Ui kit called Essential Ui hat contain 100+ ready-to-use components like: buttons, forms, and styles.
Preparing for this Tutorial
Before diving into the content of this series, make sure you duplicate the Essential Ui file Here.
Once the Essential Ui file is opened in your Figma editor, head to the workshop page in the left-hand sidebar. The workshop page will be our creation space for this tutorial series.
