With Figma, you can export any individual layer or a group of layers to a JPG image, a PNG, an SVG file, or a PDF document.
In this tutorial, we’ll see how to export Figma layers as an image.
So, without further ado, let’s get started.
Export layers as an image
First, let’s get our exercise file from the Figma community.
1 – Duplicate a Figma file from the Figma community
We’ll be using Arash‘s Masmas Admin Dashboard UI Kit for this tutorial.
- Go to the following URL to download the file to your Figma file browser: https://www.figma.com/community/file/1115390541907848130
- Then, click the Duplicate button at the top right of the file’s page.
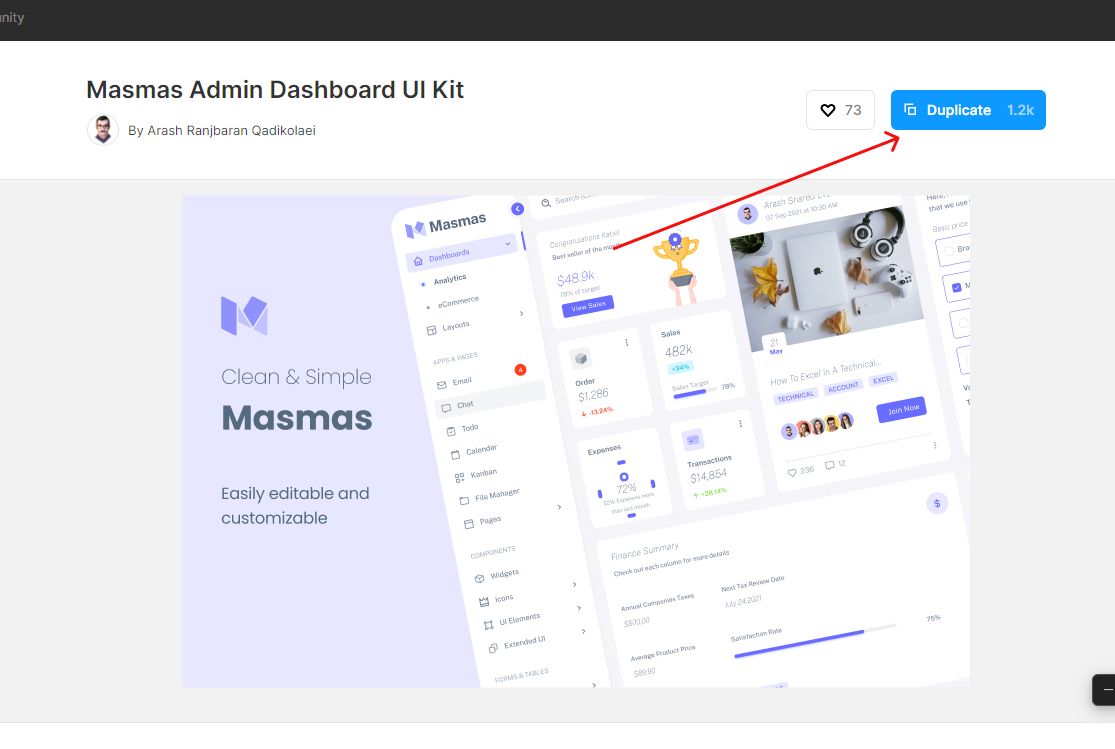
Once you’ve duplicated the file, it will automatically open in your Figma editor.
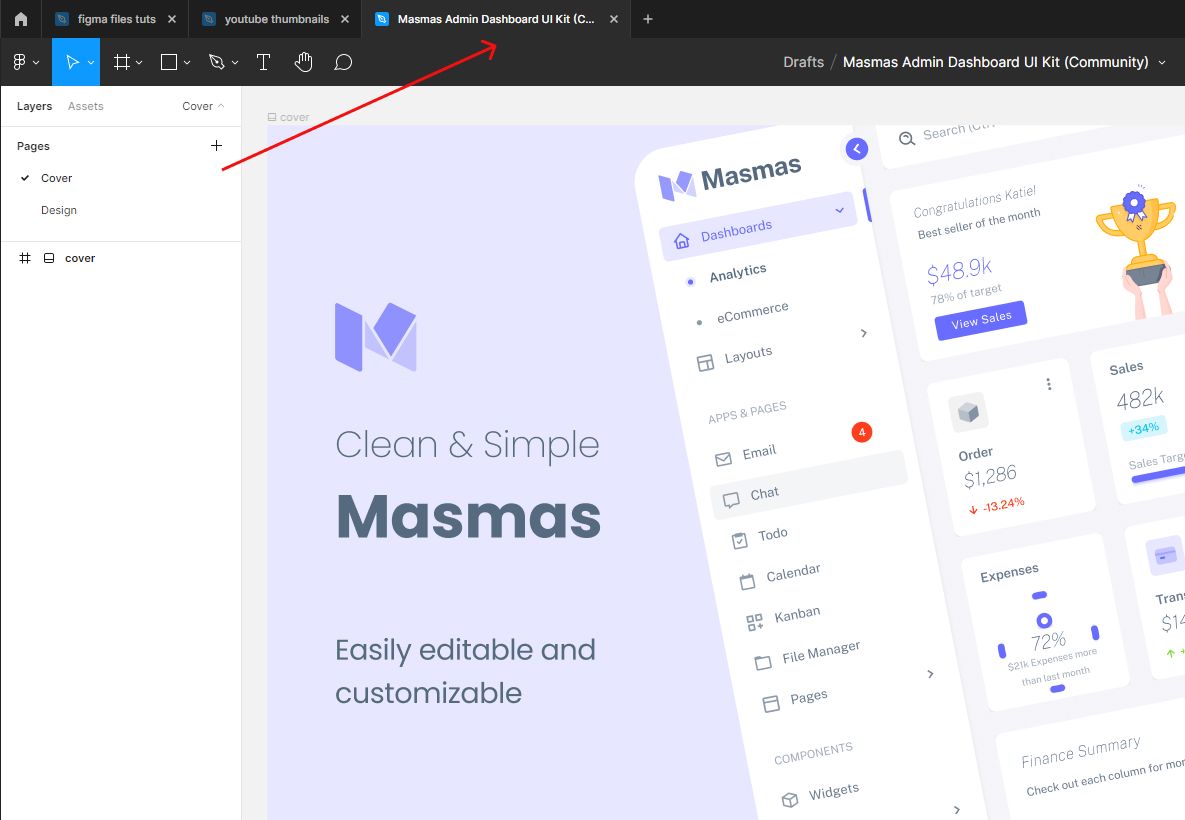
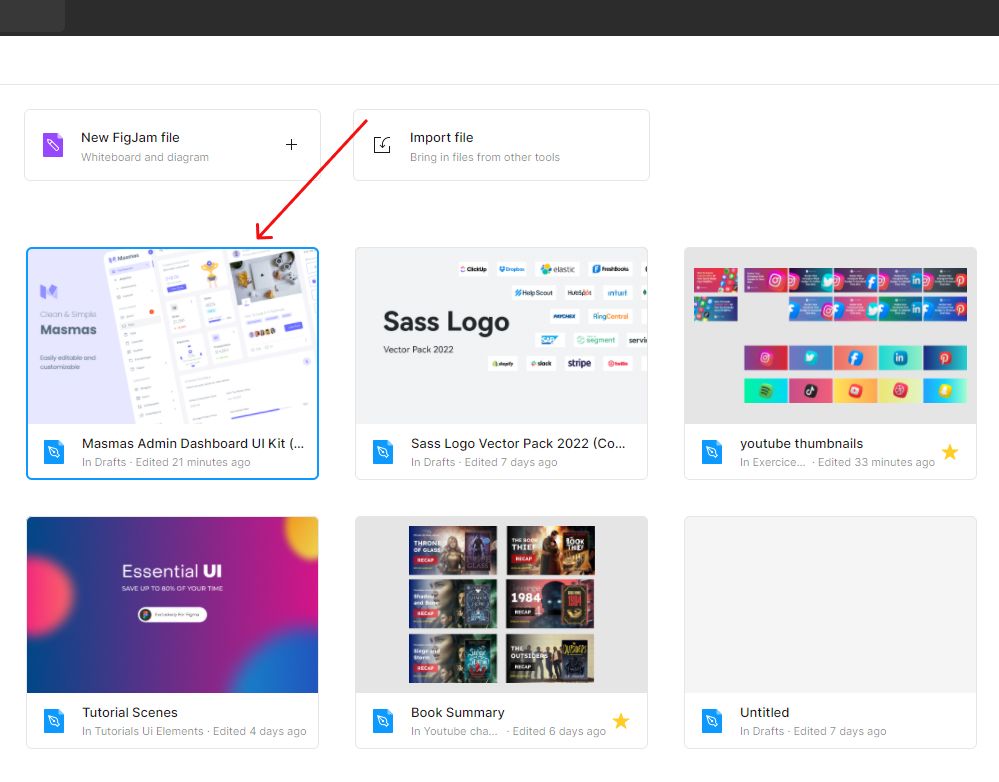
If the file doesn’t open in a new angle automatically, go to your Figma files browser and select Drafts from the left-hand sidebar.
You’ll find the file first, along with all of your drafts.
Export design screens as image
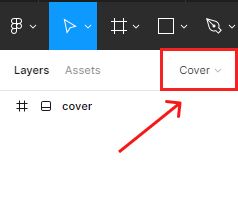
- in Masmas Admin Dashboard UI Kit, head to the left-hand sidebar and hit Cover In the top right corner.
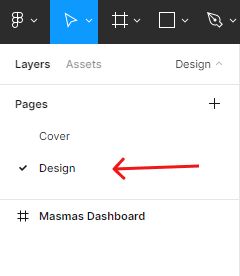
- To see the file’s design, go to the pages section and click on the Design page.
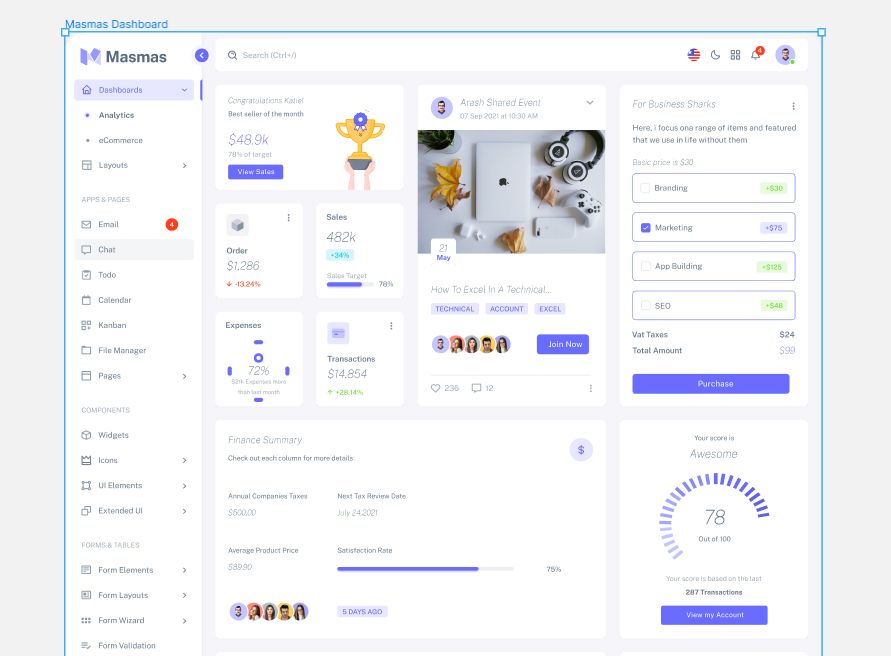
- Next, select the Masmas Dashboard frame.
- Head to the Export section in the right-hand sidebar.
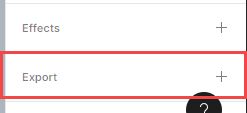
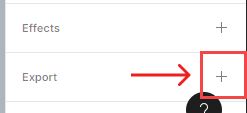
- Select the + icon in the right corner of the Export section.
- Choose one of the four image formats Figma offers, ranging from JPG to PDF, from the dropdown menu.
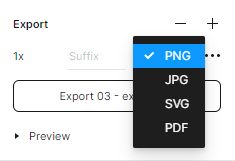
You can preview the image in the preview toggle before exporting it.
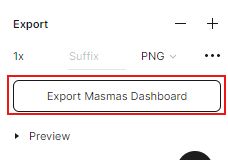
- Hit Export button and select your export location from your local files.
If you have more than one screen and want to export them all as a single PNG, JPG or an SVG file, all you have to do is to select all your design screens, press Ctrl or Command + G to group the screens, and then use the same Export setting from above.
Conclusion
Congratulations, you now know how to export Figma layers as images! I hope you found this tutorial helpful; if so, you’ll appreciate our other Figma tutorials. If you want to continue your Figma learning experience, we’ve got you covered with everything from creating a new file to organizing your files to collaborating with your team.
Please share this tutorial with your friends who want to learn Figma; it would mean a lot to us. We’ll see you in the next Figma tutorials.
