Do you want to learn about Figma from the ground up? You are in the right place.
Figma comes with a hundreds of features to assist you in creating fantastic websites. While every tool has its place in specific situations, just a few are absolutely necessary for getting the most out of Figma. Follow along as we walk you through the most important Figma features in clear step-by-step tutorials.
This tutorial is designed for absolute beginners and will teach you how to replace font in Figma.
So, without further ado, let’s get started.
Replace font family
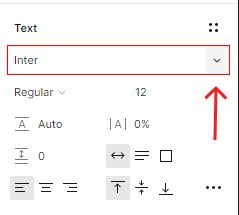
- Select the text layer.
- Go to the Text section in the right-hand sidebar.

- Toggle the fonts list menu by clicking the arrow in the right corner of the font name.
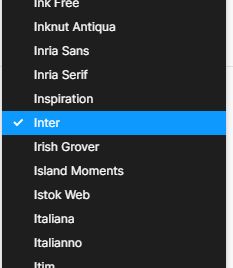
The font list includes all of your local fonts as well as access to various Google Fonts.
- To change the font of your text layer, select the font name from the list.
- You can also select the font name input and enter your font name.
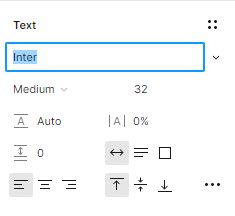
If the font is found in the fonts list, it will be applied to your text layer.
Conclusion
Congratulations, you now know how to replace font family of text layers in Figma! I hope you found this tutorial helpful; if so, you’ll appreciate our other Figma tutorials. If you want to continue your Figma learning experience, we’ve got you covered with everything from creating a new file to organizing your files to collaborating with your team.
Please share this tutorial with your friends who want to learn Figma; it would mean a lot to us. We’ll see you in the next Figma tutorials.