Do you want to learn about Figma from the ground up? You are in the right place.
Figma comes with a hundreds of features to assist you in creating fantastic websites. While every tool has its place in specific situations, just a few are absolutely necessary for getting the most out of Figma. Follow along as we walk you through the most important Figma features in clear step-by-step tutorials.
This tutorial is designed for absolute beginners and will teach you how to upload font files to Figma.
For a complete breakdown of organizing and managing Figma files, check out our Figma File Management for Beginners: A Comprehensive Guide.
So, without further ado, let’s get started.
Install local Font
To add a local font in Figma, Once you’ve downloaded the font files, you need to install it onto your computer then head to Figma font list and access it. So, whether you’re in windows or mac here’s how you can install a font file to your computer.
Install fonts on Mac
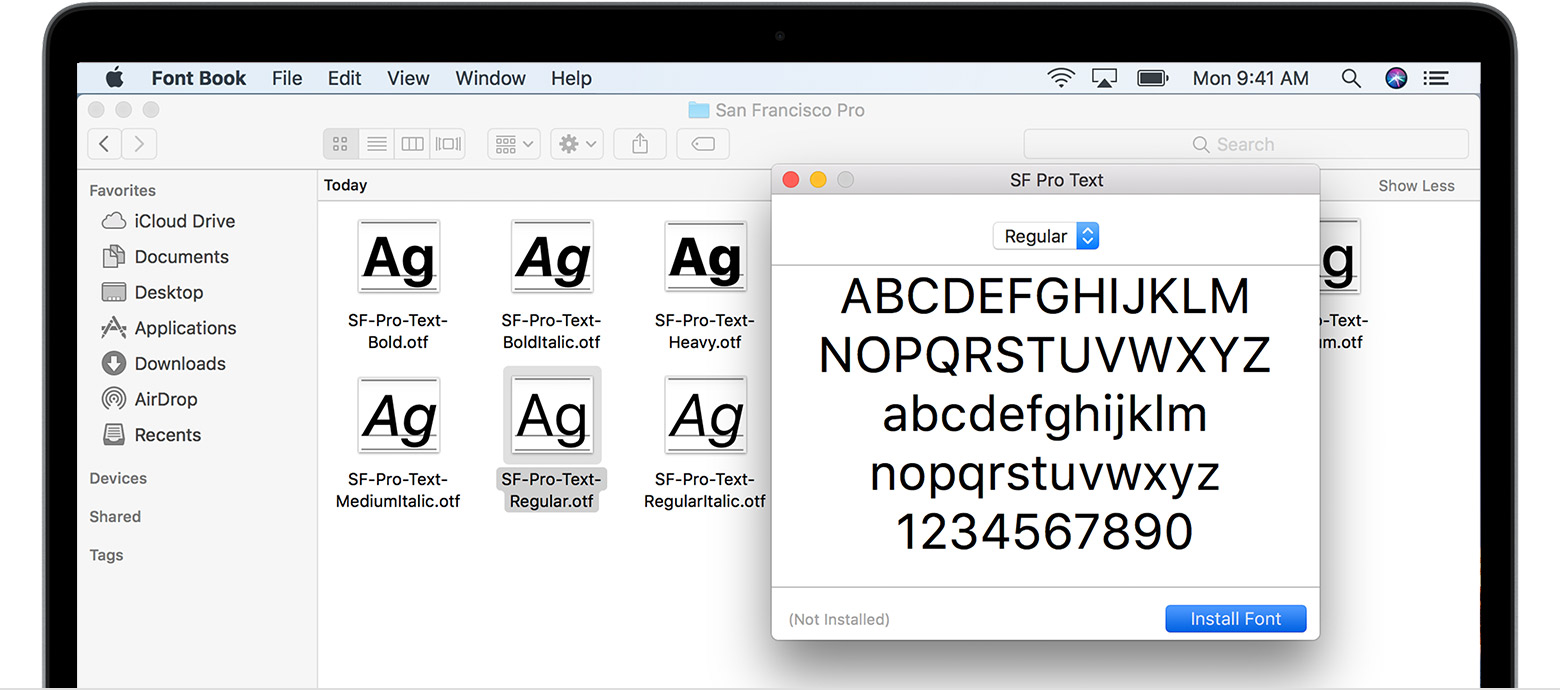
Double-click the font in the Finder, then click Install Font in the font preview window that opens. After your Mac validates the font and opens the Font Book app, the font is installed and available for use.

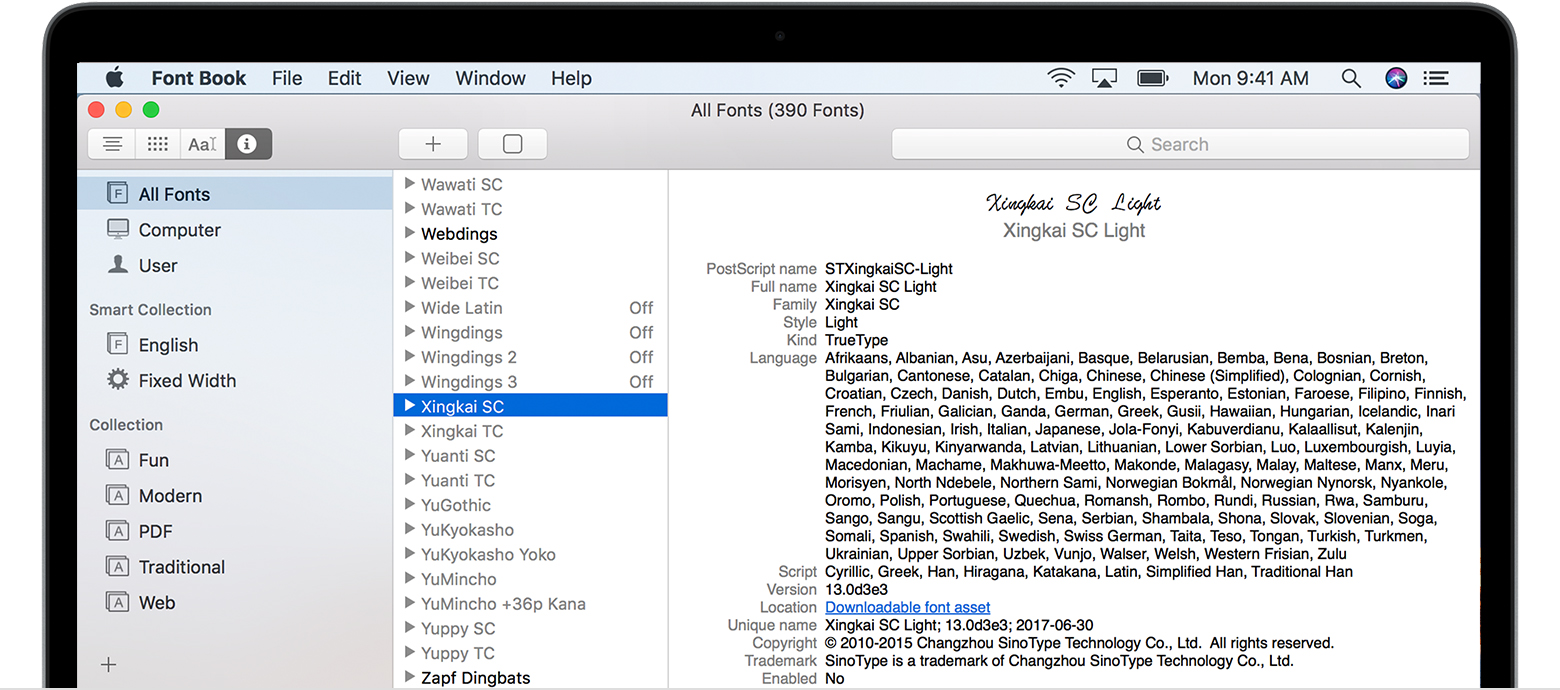
You can use Font Book preferencesto set the default install location, which determines whether the fonts you add are available to other user accounts on your Mac.
Fonts that appear dimmed in Font Book are either disabled(“Off”), or are additional fonts available for download from Apple. To download the font, select it and choose Edit > Download.

Source: https://support.apple.com/en-us/HT201749
Install fonts on Windows
Download the font files. These often come compressed in .zip folders. In one .zip folder, you might find several variations on the same font, such as “light” and “heavy.” A .zip folder usually looks like this:

If the font files are zipped, unzip them by right-clicking the .zip folder and then clicking Extract. Now you’ll see the available TrueType and OpenType font files:

Right-click the fonts you want, and click Install.

If you’re prompted to allow the program to make changes to your computer, and if you trust the source of the font, click Yes.
Your new fonts will appear in the fonts list in Figma.
Source: https://support.microsoft.com/en-us/office/add-a-font-b7c5f17c-4426-4b53-967f-455339c564c1
Access the font in Figma
- Launch your Figma file browser and open one of your files.
- Start by creating a new text layer using the Text tool in the toolbar.

- Go to the Text section in the right-hand sidebar.

- Toggle the fonts list menu by clicking the arrow in the right corner of the font name.

The font list includes all of your local fonts in addition to your new installed font, as well as various Google Fonts.
- To apply the font you’ve installed, search the font name from the list and select it.

- You can also select the font name input and enter your font name.

Install font for Entire organization :
https://help.figma.com/hc/en-us/articles/360039956774-Upload-custom-fonts-to-an-organization
Install font for a Specific team :
https://help.figma.com/hc/en-us/articles/360039956774-Upload-custom-fonts-to-an-organization
Conclusion
Congratulations, you now know how to upload font files to Figma! I hope you found this tutorial helpful; if so, you’ll appreciate our other Figma tutorials. If you want to continue your Figma learning experience, we’ve got you covered with everything from creating a new file to organizing your files to collaborating with your team.
Please share this tutorial with your friends who want to learn Figma; it would mean a lot to us. We’ll see you in the next Figma tutorials.


