
Before we dive into the details of Figma frames, make sure to check out our Learn Figma Basics: Your Complete Guide to Mastering Figma to build a strong foundation in Figma.
Designing with Figma is like designing inside the browser, it has powerful features that can simulate the browser behavior. Frames, constraints, and auto-layout, are features that help you create a dynamic user interface.

In this part, we will see how Frames, constraints and Auto layout works, and how to combine them to make dynamic user interfaces.
1- Frame:
Frames are the equivalent of artboards. If you’re designing for a specific device or screen size, you may want to create a container for your design. This is where Frames come in handy.
Create a frame:
To create a new frame, you can free draw a frame in the canvas with the frame tool, or choose a pre-sized frame. Figma has a collection of pre-sized frames for the most popular device’s screen size. it makes it easier to create an artboard that fit a specific device screen.
Create a simple frame:
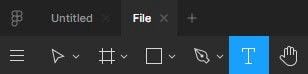
- Select the frame tool in the toolbar.
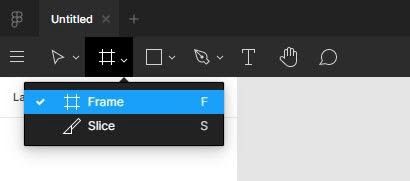
- Click and drag in the canvas to draw a frame.
- You can resize a frame by clicking and drag one of the corners, or sides to resize.
Create a mobile screen size frame:
- In the toolbar, select the frame tool.
- Go to the properties panel sidebar, and select the iPhone 11 pro-Max frame.
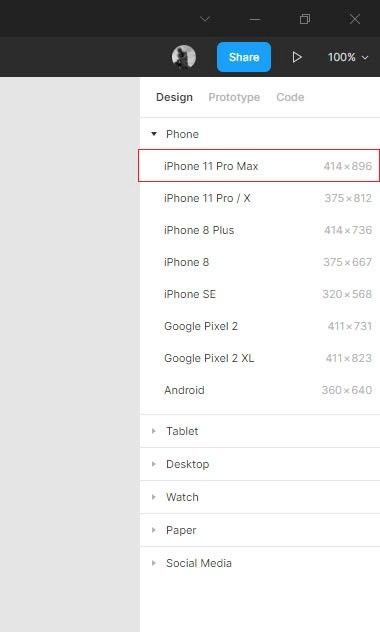
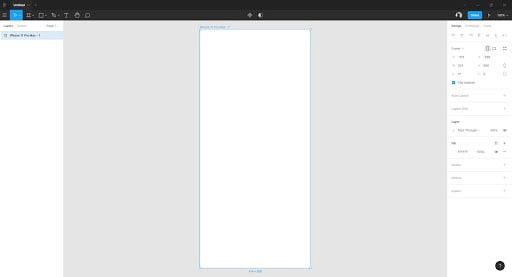
The iPhone frame will appear on the canvas.
Frame properties :
- Select the frame to access its properties in the sidebar.
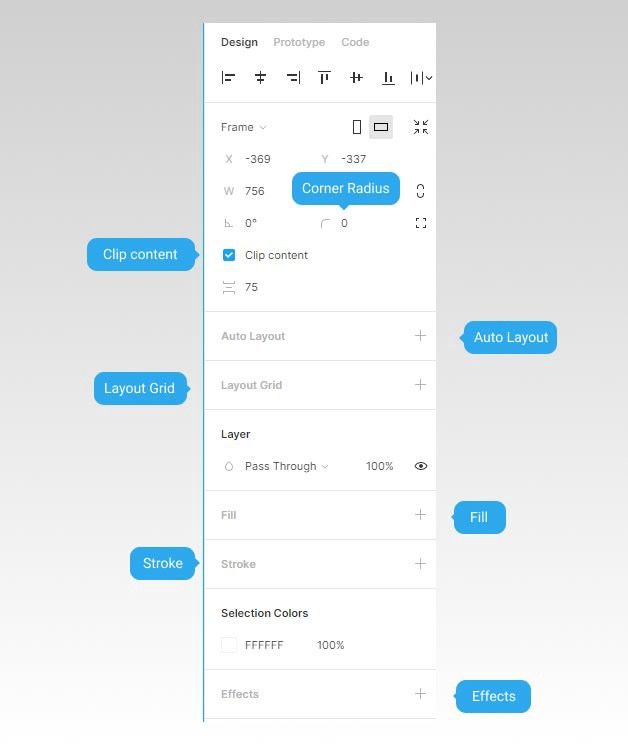
- Corner Radius: Round the corner of a Frame to create softer edges
- Clip Content: Hide any objects within the Frame that extend beyond the Frame’s bounds
- Layout Grids: Create a visual structure for your designs
- Auto Layout: Create dynamic Frames that respond to their contents
- Fill: Apply a Solid Fill, Gradient, Images (PNG, JPEG, GIF, TIFF, and WEBP) to a Frame.
- Stroke: Add strokes to a Frame to create a border or outline
- Effects: Add a shadow or blurs to a Frame
Source: Frames in Figma
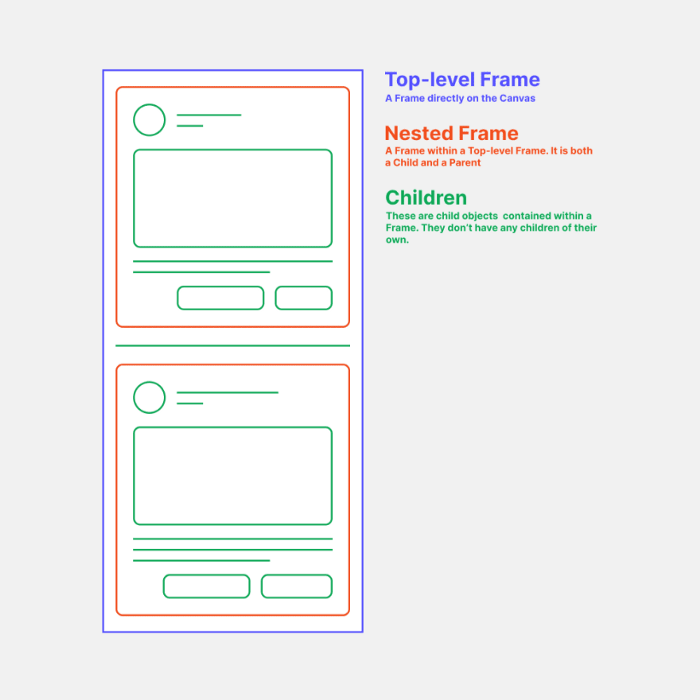
Nesting frames:
In Figma, we can draw frames within other frames. This will help you build complex UI elements like buttons, cards, and navbars.
source: Frame Nest
let’s see how nesting frames work by creating a simple form field.
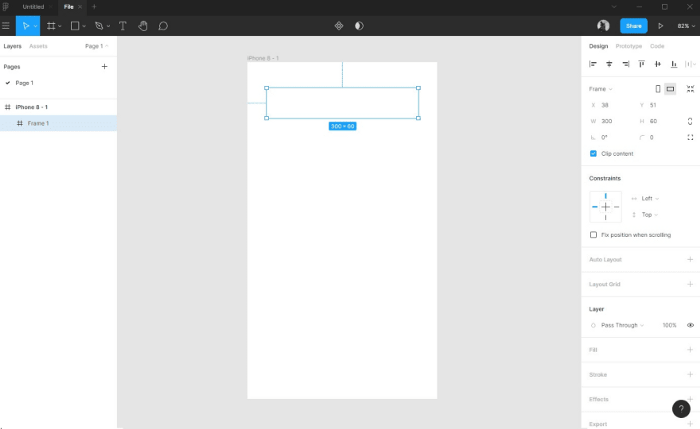
Create the form field frame:
- Select the artboard frame.
- Pick the frame tool in the toolbar.
- Click and drag inside the artboard frame, to draw a new frame.
- Resize your frame to 300px width, and 60px height.
Frame color:
- Select the field frame
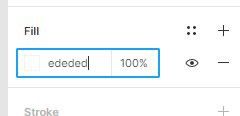
- In the properties panel, click the + icon on the fill section to add a color fill
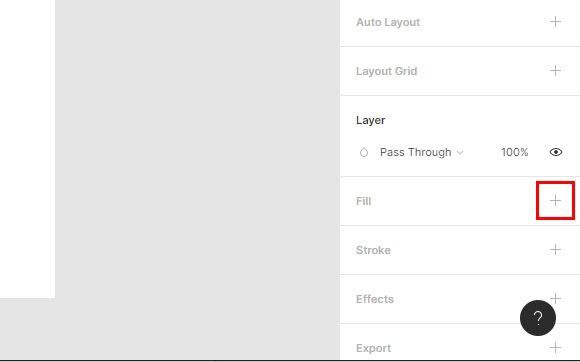
- Replace the default color code with #ededed
Add a text layer:
- Pick the text tool in the toolbar
- Click inside the field frame to create a text layer.
- Enter the text: your email.
- Align the text layer to the left.
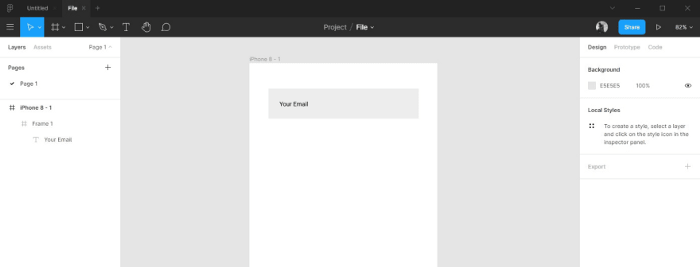
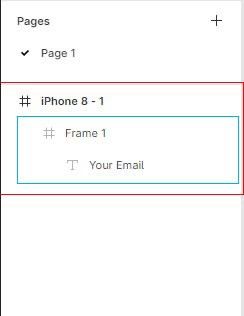
You can see in the layers panel, how frames are nested.
That’s all about the Figma Frame Feature. In the next post, we will discover the Constraints feature and how to make your user interface dynamic.
This post is a part of a series that cover the basics of designing with Figma. See you in the next post 😉