Before learning about the text tool in Figma, take a look at Learn Figma Basics: Your Complete Guide to Mastering Figma to cover the fundamental features you need to know.
Figma has a type tool that covers all the necessities to create your typography. It englobes all the basic features like font face, font size, font weight, line height, and different font styles. What’s remarkable about the type tool is its font face library. You have all the google font collection in your hand without installing a single thing.
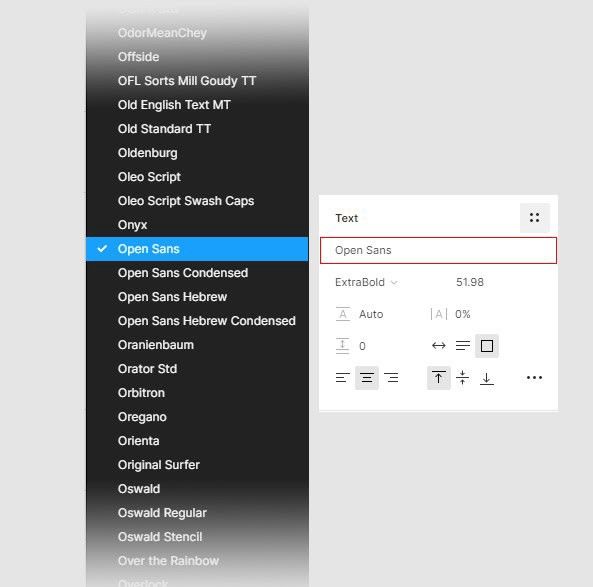
Google fonts Library
Lately, Figma added a new feature to its type tool that allows you to add links to your text.
Let’s take a closer look at the type tool.
Create a text layer:
You can create a new text layer using the Text tool in the Toolbar.

Once you have the Text tool selected, you can create a text layer in the Canvas.
- Click once in the canvas or,
- Click and drag in the canvas
Text resizing :
When you create a text box, you have the ability to set its resizing settings.
The Resizing setting can be found in the Advanced Type menu.
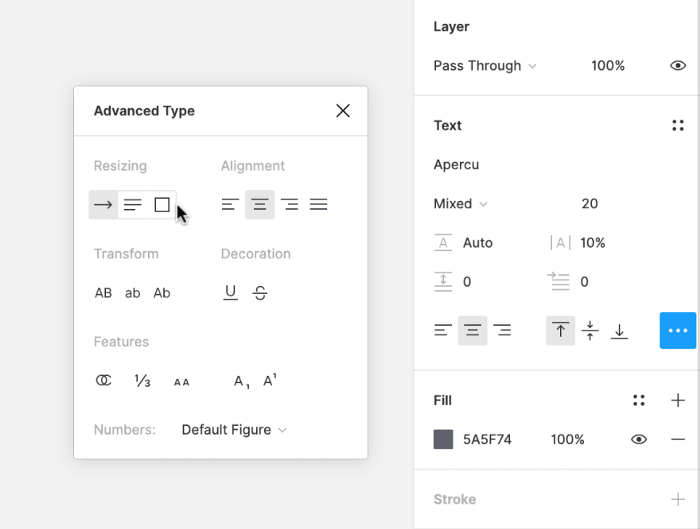
You can set a text box to grow horizontally without line break
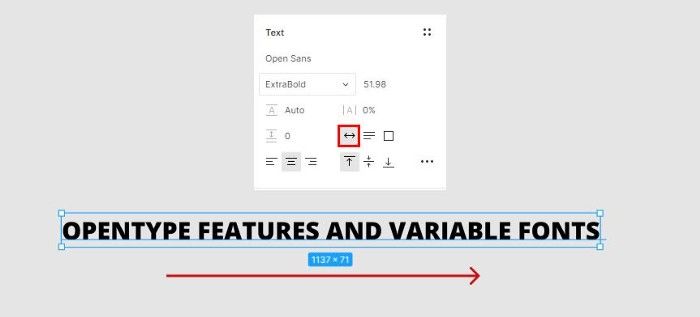
Text resizing: auto width
Or fix its width and let it grow vertically;
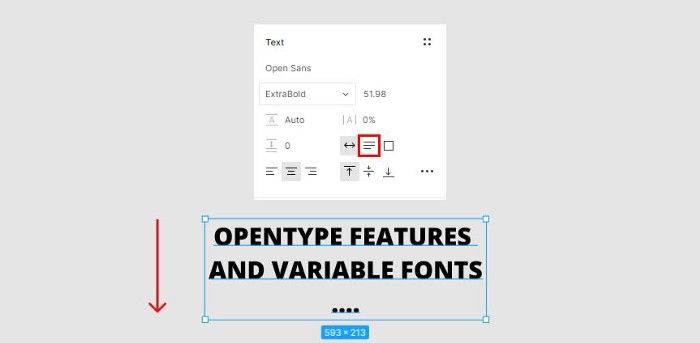
Text resizing: auto height
Or fix both directions.
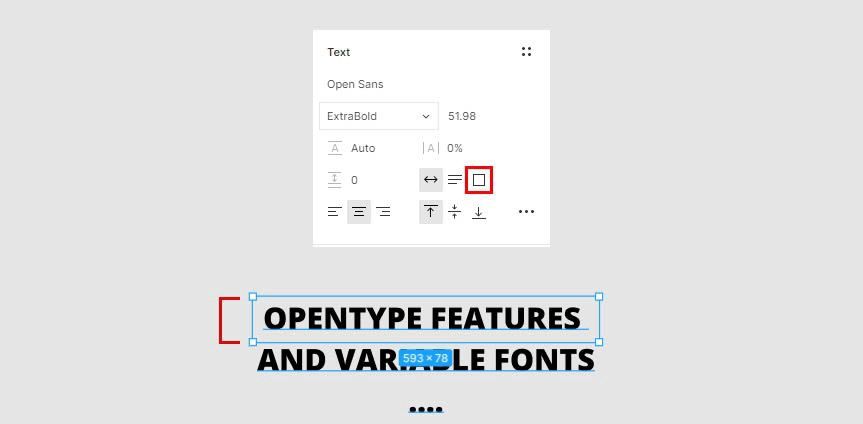
Text resizing: fixed size
This feature prevents some text break problems when you modify your content later.
Create a link:
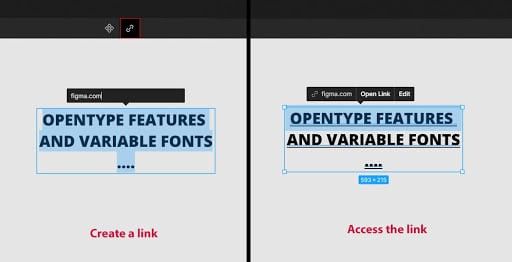
You can select a text layer and assign an external link to it.
With this feature, you can connect your design and assign external resources to your files.
Add a link:
- Select your text layer
- Click the create a link button in the toolbar.

- Add your link to the input field.
Text Settings in the Properties Panel
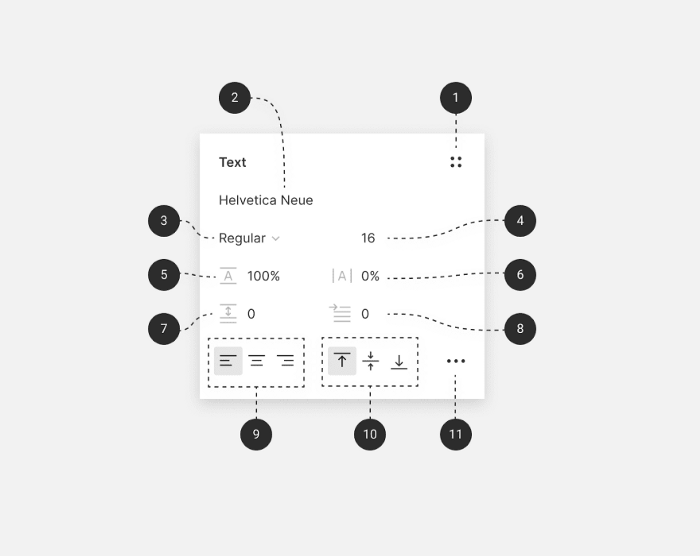
From the Text section you can:
- View, create and apply Text Styles to selected text
- Browse a list of web, local and shared fonts to find the perfect Font
- Select a Font Style or weight
- Adjust the size of your text
- Adjust the Line Height, the vertical distance between lines of text
- Adjust the Letter Spacing, the uniform distance between letters
- Adjust the Paragraph Spacing, the vertical distance between paragraphs
- Offset text with Paragraph Indentation
- Adjust the Horizontal Alignment of text within the text layer
- Adjust the Vertical Alignment of text within the text layer
- Open the Type Details menu to explore more text properties and OpenType features
Source: help.figma
In the next post, we will discover how to create and modify vector shapes.
This post is a part of a series that cover the basics of designing with Figma. See you in the next post 😉


