Welcome to a brief and insightful tutorial on enhancing your designs in Penpot. In this session, we’ll focus on two impactful design elements: creating a sleek drop shadow effect and incorporating a blur for added depth. Whether you’re a Penpot enthusiast or just starting out, these techniques are designed to elevate your design aesthetics. Let’s dive in and explore the steps to create shadow and blur effects in your Penpot projects!
To fully grasp how Penpot handles visual effects like drop shadow and blur, it’s useful to start with our Ultimate Guide to Mastering Design with Penpot, which covers essential features.
Create drop shadow effect
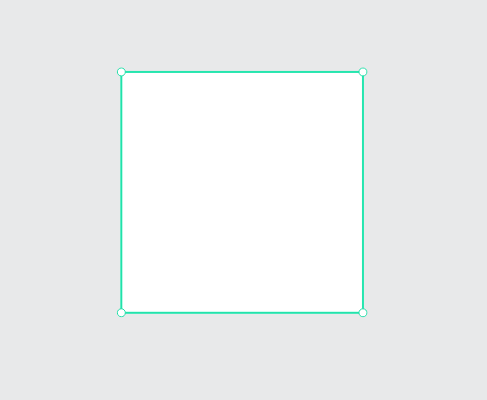
- Begin by creating a rectangular shape and filling it with white.
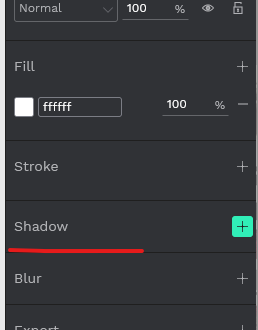
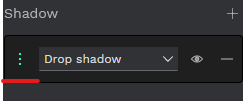
- Navigate to the sidebar, locate the Shadow section, and click the ‘+’ icon.
- In the Shadow section, choose either Drop Shadow or Inner Shadow.
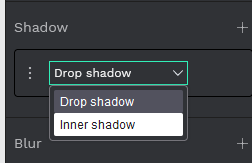
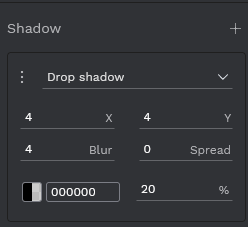
- Opt for Drop Shadow and click the three dots icon next to the effect layer to access the settings.
- Customize the shadow’s direction using the X and Y inputs. Adjust blur, spread, color, and opacity to your liking.
Adding a Blur Effect
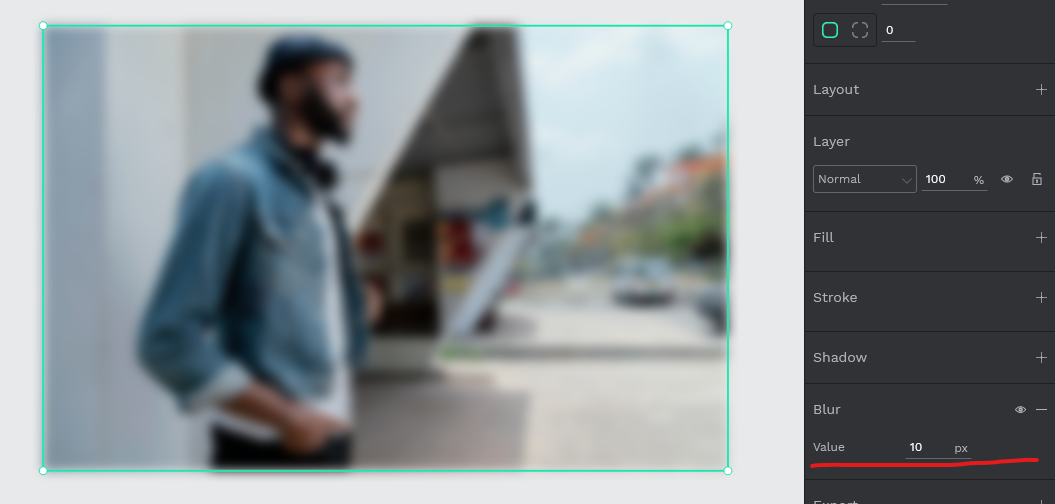
- Import an image into your project.
- Head to the Blur section in the sidebar and click the ‘+’ button.

Note: If you’re interested in creating a glass effect, Penpot lacks the Background Blur option found in Figma. While a method exists, it won’t be covered in this tutorial. Stay tuned for a dedicated tutorial on achieving glass effects in Penpot in the near future.
Now that you’ve learned about visual effects, take your designs further with additional tips from our Penpot Tutorials: The Ultimate Guide to Mastering Design with Penpot.
Conclusion
Drop shadows and blur effects in Penpot adds depth and dimension to your designs. With these simple steps, you can elevate the visual appeal of your elements. Stay tuned for more advanced techniques, including creating captivating glass effects, in our upcoming tutorials. Happy designing!