In this tutorial, we’ll explore the straightforward process of establishing color and text styles in Penpot to enhance your design consistency.
Before exploring color and text styles in Penpot, be sure to read our Ultimate Guide to Mastering Design with Penpot to build a solid foundation in the tool.
Creating Color Styles
- Begin by crafting a basic rectangle and fill it with your desired color, such as #1642c5.
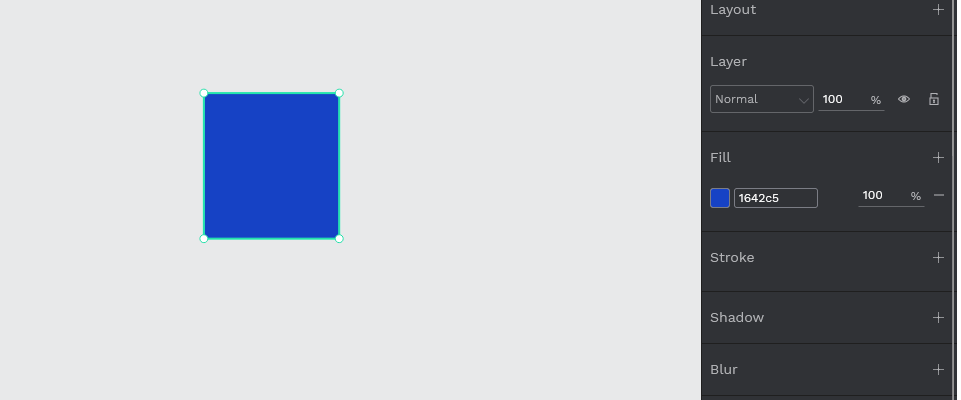
- Select the colored square on the fill layer to open the color picker.
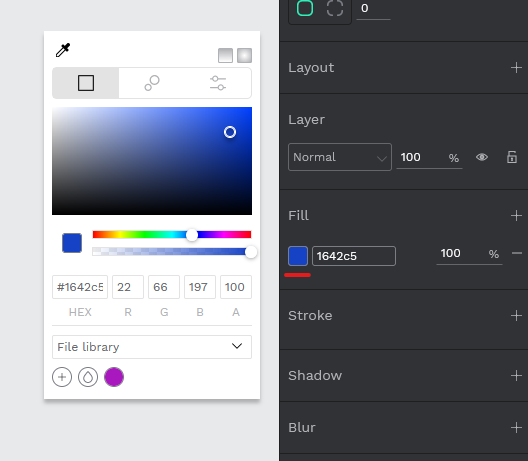
- Click the plus icon in the bottom left corner of the color picker to add the current color as a style.
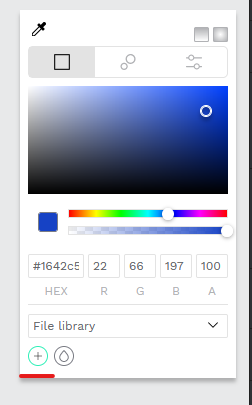
Preview your added color at the bottom of the color picker.
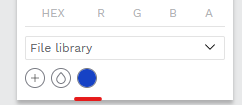
Access color style
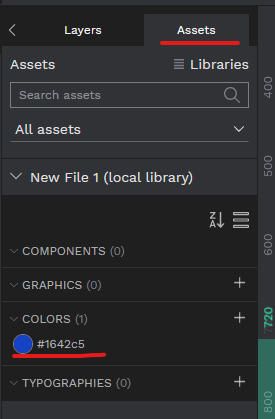
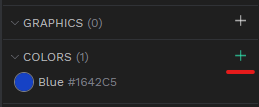
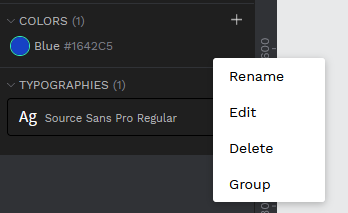
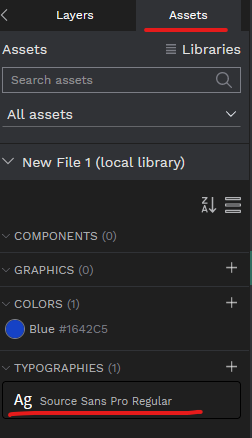
- Navigate to Assets and find your color style under COLORS.
Alternatively, create a style directly in the COLORS section by hitting the + action in the right corner and adjusting your style settings.
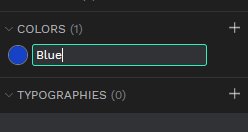
Rename the color style
- Double-click the style name to rename it, or right-click to edit, rename, delete, or group it.
Creating Text Styles
- Generate a new text layer and go to the text section in the sidebar.
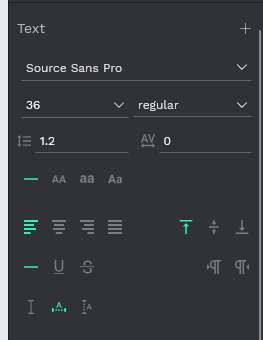
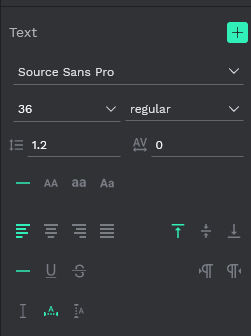
- Press the plus icon in the top-right corner of the text section to save the current text layer’s settings as a text style.
Preview all your text styles in the Typographies section under the Assets tab.
- Right click over your text style to Edit, rename, delete or group.
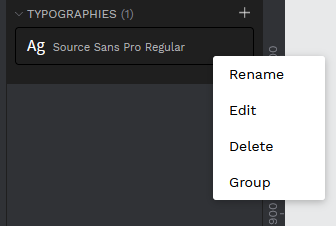
Alternatively, create a text style in the TYPOGRAPHIES section by hitting the + action in the right corner and adjusting your style settings.

Now that you’ve mastered color and text styles, continue refining your skills by reading our Penpot Tutorials: The Ultimate Guide to Mastering Design with Penpot.
Conclusion
Congratulations! You’ve successfully learned how to create and manage color and text styles in Penpot, a skill that will undoubtedly streamline your design process. By organizing your elements into consistent styles, you’ll not only save time but also maintain a polished and cohesive aesthetic across your projects. Don’t hesitate to experiment with these techniques and explore the full potential of Penpot’s styling features. Now, armed with these tools, go ahead and take your designs to the next level!