Welcome to this quick and practical tutorial on mastering image handling in Penpot! Whether you’re a beginner or looking to streamline your design process, this step-by-step guide will walk you through the essentials of importing, resizing, cropping, and exporting images within Penpot. By the end, you’ll have a solid grasp of these fundamental techniques, empowering you to enhance your design projects with ease. Let’s dive in!
To make the most of image workflows in Penpot, it’s helpful to read our Ultimate Guide to Mastering Design with Penpot for a thorough introduction to the platform.
1. Importing an Image:
- Use the image tool to import pictures from your local folders.

Import an image as a graphic asset
- In the ‘Assets’ section, press the ‘+’ button under ‘Graphics’ to import the image as a graphic asset.

- Drag and drop the imported image onto the canvas for design purposes.

2. Resizing an Image:
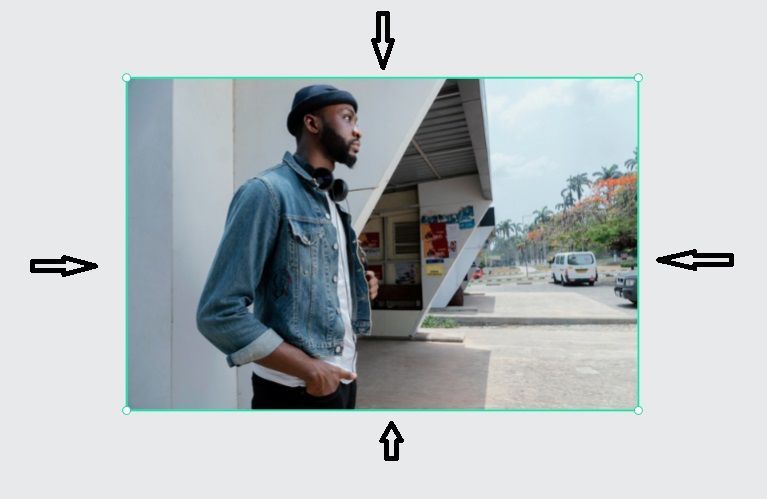
- After importing, click and drag any of the image’s four sides to resize it proportionally.

To adjust only the width or height, go to the ‘Size’ section in the sidebar.
- Unselect the lock button and modify the width or height as needed.

The result will be an disproportionate image , but in some cases we need to only resize the height or the width.

3. Cropping an Image in Penpot:
While Penpot lacks a dedicated crop tool, you can achieve a similar effect by encapsulating the image in a board.
- Select the board tool and draw a board over the area you want to crop.


The image will fill the board, effectively creating a cropped version.

- Resize the board containing the image to refine the crop.
- Adjust image layer constraints for flexible images, such as setting the constraint to ‘Center – Center’ for a responsive effect.

4. Exporting an Image:
- To export, select the image layer or its board.
- In the right-hand sidebar, click the ‘+’ button next to ‘Export.’

- Choose the desired export format.

- For multiple sizes, add suffixes like 1x, 1.5x, 2x.

- After configuring export options, click “Export element.”

Now that you’ve improved your image handling skills, discover more design workflows in our Penpot Tutorials: The Ultimate Guide to Mastering Design with Penpot.
Conclusion
You’ve successfully learned how to import, resize, crop, and export images in Penpot. Apply these steps to enhance your design projects efficiently. Experiment with the tools to achieve the desired visual effects and improve your design workflow.


