
Ready to elevate your design game with personalized fonts in Penpot? This quick tutorial will guide you through the process of importing a new font face, adding a touch of uniqueness to your creations. Using dafont.com as our source for custom fonts, let’s dive into the simple steps to bring a world of typography options to your Penpot canvas.
Before personalizing your designs with custom fonts, be sure to read through our Ultimate Guide to Mastering Design with Penpot to learn more about Penpot’s capabilities.
Importing a New Font Face to Penpot
Download a Font:
- Head over to dafont.com and choose a custom font of your liking.
- Download the font face, unzip the file, and have it ready for the next steps.
Importing the New Font Face to Penpot
- Within Penpot, navigate to the Fonts tab.
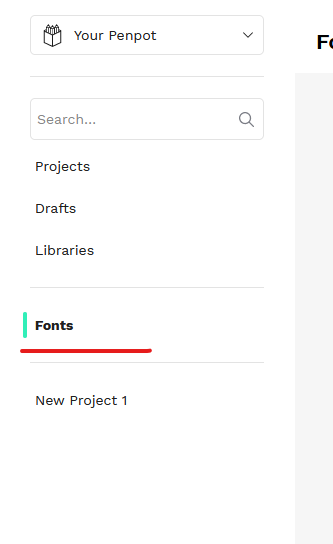
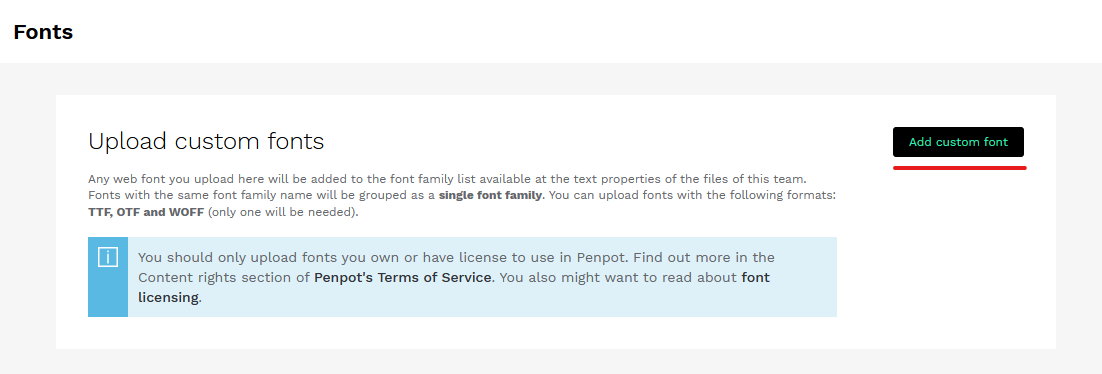
- Click the “Add custom font” button.
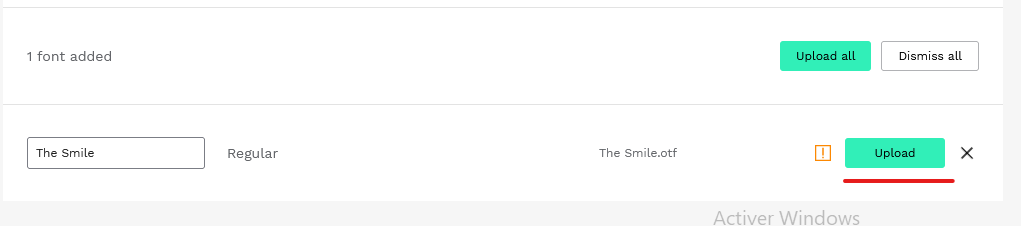
- Choose the font face file with the extension ‘otf’ or ‘ttf.’

- Hit the “Upload” button
Apply the Font
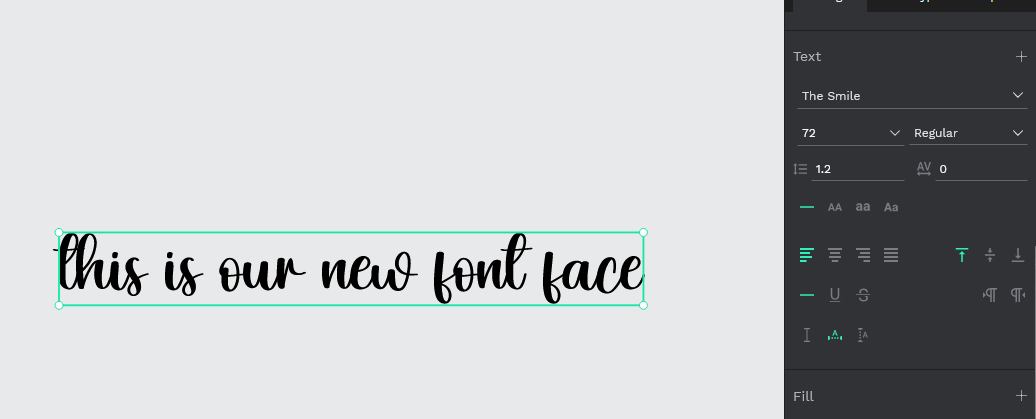
- Open a new file and create a text layer.
- In the right-hand sidebar, go to the text section.
- Choose your imported font from the font face list.
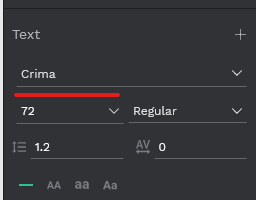
- Type in the font name to apply it to your text layer.
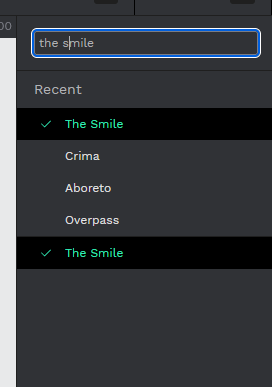
- Select the font name, and you’re all set! Your text layer now boasts the unique charm of your newly added font.
Conclusion:
Congratulations! You’ve successfully expanded your font library in Penpot, giving your designs a personalized touch. Feel free to experiment with different fonts and watch your creativity soar. Now, go ahead and infuse your designs with the power of custom typography!
Custom fonts can add a unique touch to your designs, but there’s more to discover! Head back to our Penpot Tutorials: The Ultimate Guide to Mastering Design with Penpot for a deeper dive into the tool.